How To Tap a Keg
If you want to learn how to tap a keg of your favorite draft beer, you can join the ranks of other beer enthusiasts who share the same passion. Once you have bought and put together your favorite kegerator and purchased a keg of the best beer in the market, how do you tap it now?
The process is not as complicated as people make it look — we can help you simplify it. This article will provide a step-by-step beginner’s guide to help you easily tap your next keg of beer and simplify beer dispensing.
How Do You Successfully Tap a Keg?
To successfully tap a keg, make sure to first chill the keg for over an hour, raise the beer tap opening, make sure the tap mouth fits the keg, and check the CO2 pressure. You can now start serving the beer and pumping the keg when the pressure goes down.
The keg tap acts like a beer faucet and helps people to pour beer more efficiently. However, some people tend to complicate this simple process. We have described some easy steps for you to install a keg tap quickly and retain the fizz and taste of the contents.
So how long should you let a keg rest before tapping it? You should not move the beer around too much before tapping as this can cause excessive foam. You should allow it to rest for at least 1 to 2 hours before starting the tapping process. However, ensure you are in an open space while tapping, just in case the beer spills out.
Take note that it is always advisable to turn off the CO2 before you tap the keg. This is because the CO2 will help to pressurize the keg and push the beer out of the tap. You can turn it on later to avoid losing any CO2 during the installation of the tap.
1. Prepare the Materials
There are many different ways to put a tap in a beer keg. The first step is buying the necessary equipment. We will also provide solutions to pouring beer from a tapped keg and ways to fix some common mistakes. Here is a complete list of materials that are absolutely necessary.
Buy a keg tap. Most American home kegs need a “D” tap, but in case your keg needs a special tap, your craft brewer or draft beer supplier will be able to guide you. These are generally made of stainless steel to improve durability. These stainless steel ones also react the least with beer, help sustain their original taste, and have good seals. You will also need to have the keg, which contains the beer.
You need a place to ice your beer or keep it cold. If your refrigerator can not accommodate a keg, which is reasonable, you can ice it in a drum or bucket. For this, you also need a huge bucket or drum and lots of ice. If you are using the refrigerator, then free up some space there.
2. Chill the Keg for Over an Hour
The first step of tapping a keg of beer is to chill it to a favorable temperature. If the beer is hot or of normal temperature, it will not pour well. Hence, make the keg cold enough to make the beer taste good and the pour easier and hassle-free.
The temperature of the beer depends on the type of beer you have bought. Every beer style is served at a particular temperature. The keg you buy should come with a recommended serving temperature. So, when you ice the beer, you should ensure that the temperature is of the recommended amount.
If there is no recommended amount, you can go by the average standard serving temperature of 32 to 38 degrees Fahrenheit. This keeps the beer in its original liquid form but also does not make it overly foamy. You must follow this temperature to ensure that you are not left with a spray of foam when you serve the beer.
We also recommend that when you ice the keg of beer, you should also ice the tap to make sure everything is as per the desired temperature. This will ensure the tap does not mess up the overall beer temperature.
3. Raise the Beer Tap Opening
Raise the tap handle and disengage the tap. This is the best way to prevent the tap from spraying beer all over you when the tapping is done.
Sometimes people forget to follow this step and are left with a huge mess on their hands.
4. Make Sure the Tap Mouth Fits the Keg
Place the bottom of the tap after lifting the handle and place it on the keg, then slowly insert the bottom of the tap into the keg. Make sure they fit to avoid any loose ends and beer leakage. Then turn the tap clockwise, about 90 degrees, until it locks into position. You need to ensure that the grooves are in place to make sure that the tap is in the right place, but do not push the tap too hard. Once the tap is settled in the groove, you are good to go.
Remember that your tap handle was put up to stop it from spraying the beer. After the tap is fixed in place, you need to put down the tap handle to ensure it engages in place. You can hold the handle and pull it towards you to put it in place. Once this is done, your keg is tapped and ready to dispense beer.
If you see bubbles at the mouth of the tap, then there is a chance that the tap did not fit well. A perfectly tapped keg does not have bubbles.
5. Check the CO2 Pressure
After the tap is fixed, check the CO2 tank to set the pressure. Make sure all the valves of this tank are open to ensure the process is full-proof. Set the pressure to the recommended serving pressure. The CO2 pressure varies from beer to beer, but if there is no recommended amount, then keep it at 10 psi. As you keep going, you can change it to keep the balance of the keg.
6. Start Pouring Your Beer Into Glasses
Then you simply remove the nozzle of the tap and lift the handle and start pouring your first beer. Many believe you need to start pumping the beer right from the beginning, but we recommend that you pump it at a later stage only.

A few common pouring techniques are:
- Standard pour: To pour a standard beer, hold the glass carefully at a 45-degree angle and pour the brew slowly and surely down the side of your glass until it is about half full. Then, straighten the glass and continue pouring until the glass is about three-quarters full. Finally, top off the glass with a small head of foam.
- Belgian pour: To pour a Belgian beer, hold the glass carefully at a 45-degree angle and pour the brew slowly and surely down the side of your glass until it is about half full. Then, straighten the glass and continue pouring until the foam reaches the rim of the glass.
7. Pump the Keg When the Pressure Goes Down
Once the flow of the beer is low and the pressure goes down, you can pump the beer. Do not pump it from the start to avoid excess foam in the beer. If you pump too much, you will waste a lot of your favorite beer. Also, hold the top portion of the tap and pump it only 5 to 6 times and not more.
Many people get carried away in moments of excitement and put a lot of pressure on the tap by using a party pump. This will not make your beer come out faster but will only make the beer foamy and lose its fizz and kick. The party pump that sometimes comes with the keg is not very good. They add additional oxygen to the keg, which messes with the taste of the beer.
8. Raise the Handle To Remove the Tap
When you plan to remove the tap from your keg, always remember to disengage the tap as you did at the beginning. Lift the handle of the tap and then slowly turn the tap and lift it up and remove it.
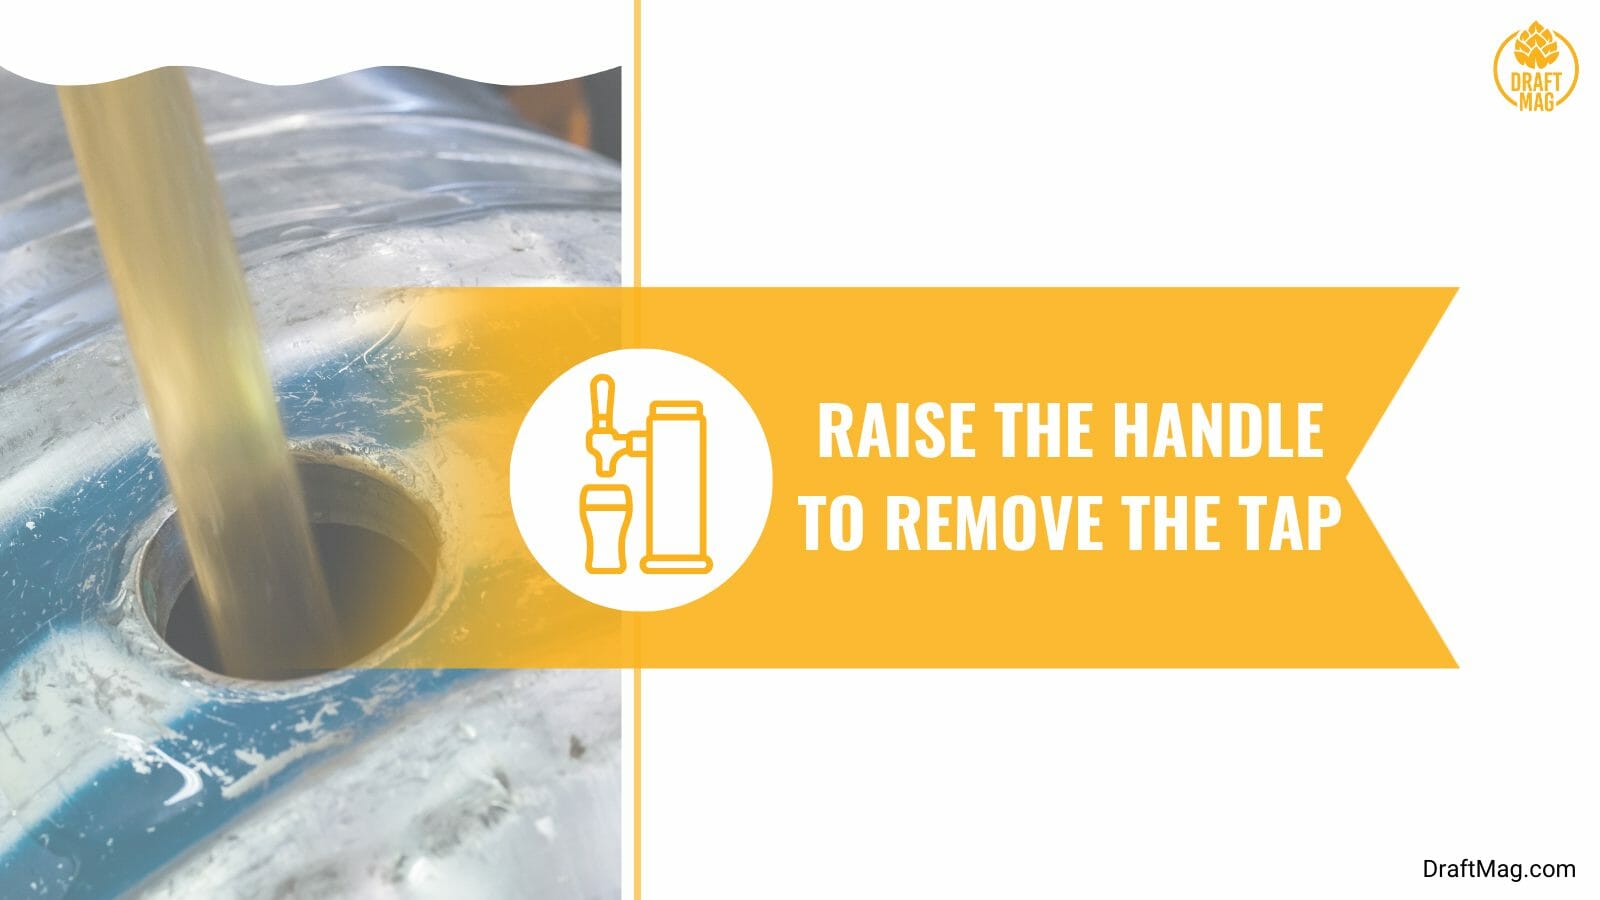
The process is very simple if you disengage your tap by lifting the handle. It becomes complicated when people end up spraying beer all over the place when they forget to lip the handle. With the proper equipment and practice, tapping a keg can be a simple and enjoyable process.
If you are using a kegerator with a CO2 pump, the beer can stay fresh for a long time, but the freshness of the beer depends on the type of beer. If it is unpasteurized, it will go bad faster. If it is pasteurized, it can stay good for longer.
How Do You Tap a Keg Without Using a Tap?
To tap a keg without using a tap, you will need to release the pressure from the keg, then bring it outside the house before removing the spear from the keg. Next, remove the ring around the spear and turn the spear to remove it from the keg.
Sometimes you order a keg, or someone gifts you one during a party, but you do not have a tap or forgot to buy one. Can you still tap it without a tap? If this sounds undoable, let us find out another DIY process to tap a keg without an actual tap.
1. Release the Pressure
You need to release the pressure from the keg to reduce beer wastage as much as possible. You can try to turn the keg on its side to release the pressure. If you remove the spear before releasing the pressure, there is a high chance that the beer will spray out in force.
You can use a screwdriver or a sharp object to lodge it into the keg to release the pressure. This step will surely spray a lot of beer in full force. Anyone standing in the way may even get hurt due to extreme pressure. Thus, make sure you’re in an empty space while you’re doing this.
2. Bring the Keg Outside
Take the cold keg of beer outside your house, then remove the spear from the keg. The spear is the central piece of the keg which dispenses the beer through the tap (when you use it).
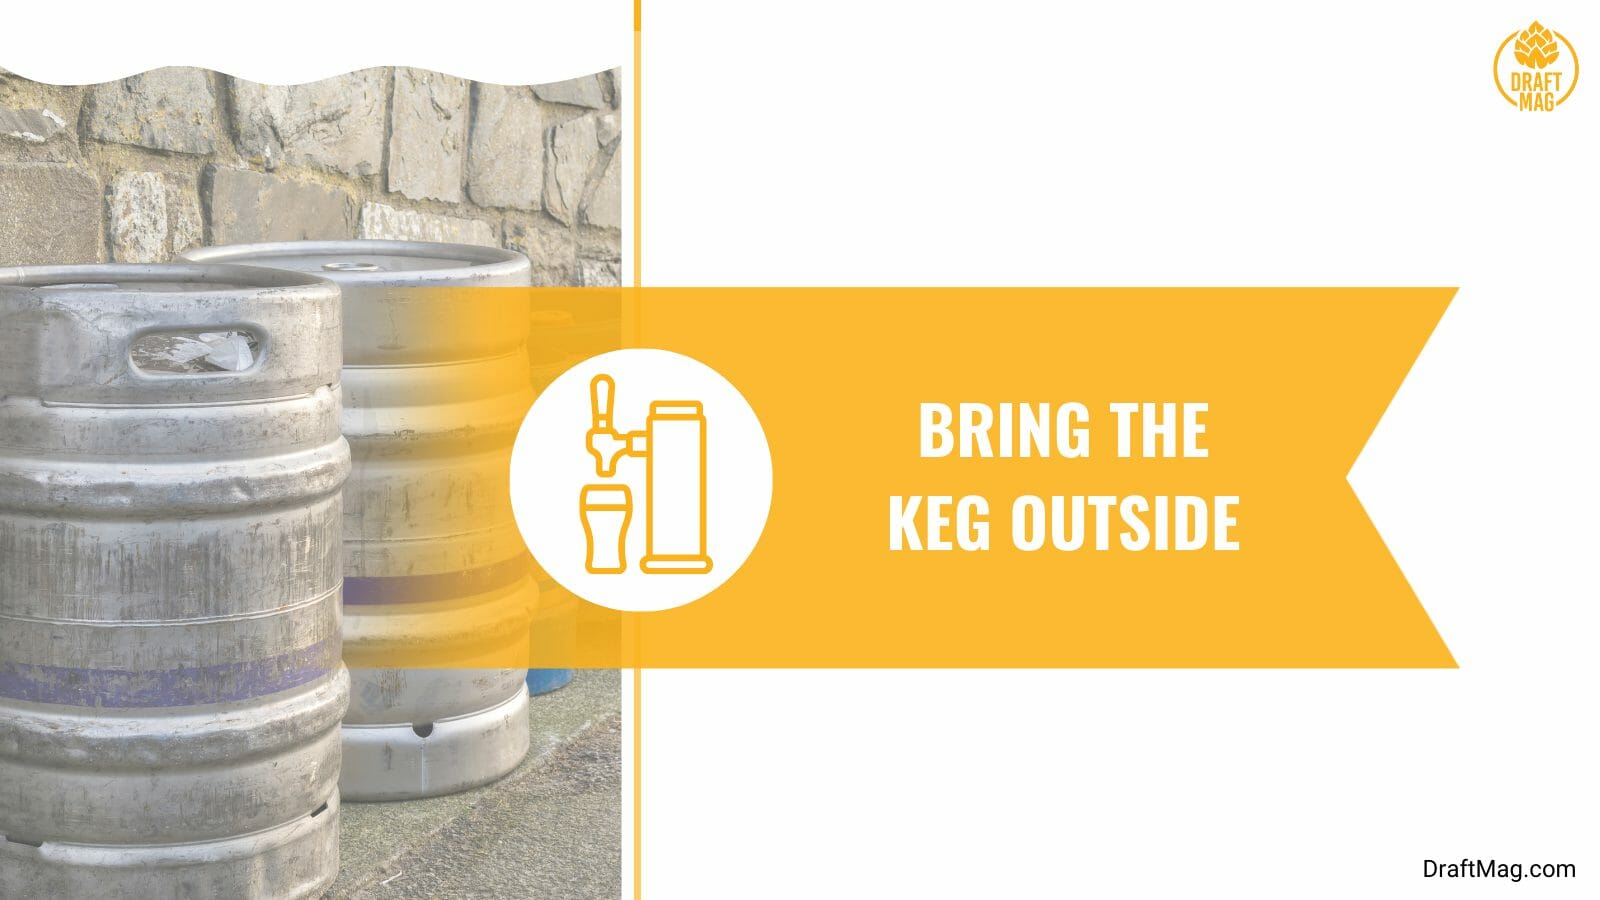
Always do this process outside your house to avoid a complete mess inside the house and a flood of beer in your kitchen.
Once the spraying stops, the keg of beer has been depressurized. Also, remember, there is hardly any way to save the beer lost during the spraying. Remember, pouring the beer out of a keg without a tap can be very cumbersome. You should be ready to lose some of your delicious beer to spraying.
3. Remove the Ring Around the Spear
When the pressure is released, you need to remove the ring around the spear to get access to the beer. This ring acts as a retainer, so make sure it is removed. You can use your sharp object or screwdriver to lift the ring and remove it.
4. Remove the Spear From the Keg
Once the retaining ring is removed, you will also need a wrench or similar equipment to grab the spear of the keg and turn it to remove it from the keg. Once the spear is free from the keg, you will be able to directly access the beer inside it. Then you can go ahead and pour it out and enjoy the taste of your favorite craft beer.
This process is messy and cumbersome, so we recommend you do this only if absolutely necessary. It is always wiser to use the proper tapping process to tap and keg and avoid chaos.
Learn more about how many beers in a keg in our detailed article.
Conclusion
Now you know exactly how to tap your keg and do it efficiently, so make sure you try tapping your own keg the next time you buy beer. But before you do, here is a quick recap of all that we learned today.
- You need to ice your beer and keep it at a cold temperature to ensure that the beer is not too foamy.
- Tapping a beer keg is not too complicated if you remember to disengage the tap handle. This will save you from spraying the beer all over the place and making a mess.
- Most keg taps in America are “D” taps and fit any average-sized keg. But in case it does not fit, you need to ask your beer supplier which tap will fit the keg.
- Do not pump the beer tap too much to get the beer flowing. Try to pump it at most 5 to 6 times to avoid excess foaming.
- You can also tap a keg without an actual tap. However, you will end up losing some of the beer in the process.
That’s it on our complete guide on tapping a keg, with and without using a tap. Now that you know this process is simple and easy, when do you plan to start doing it?