Yeast Washing: How To Use Your Yeast for Multiple Brews
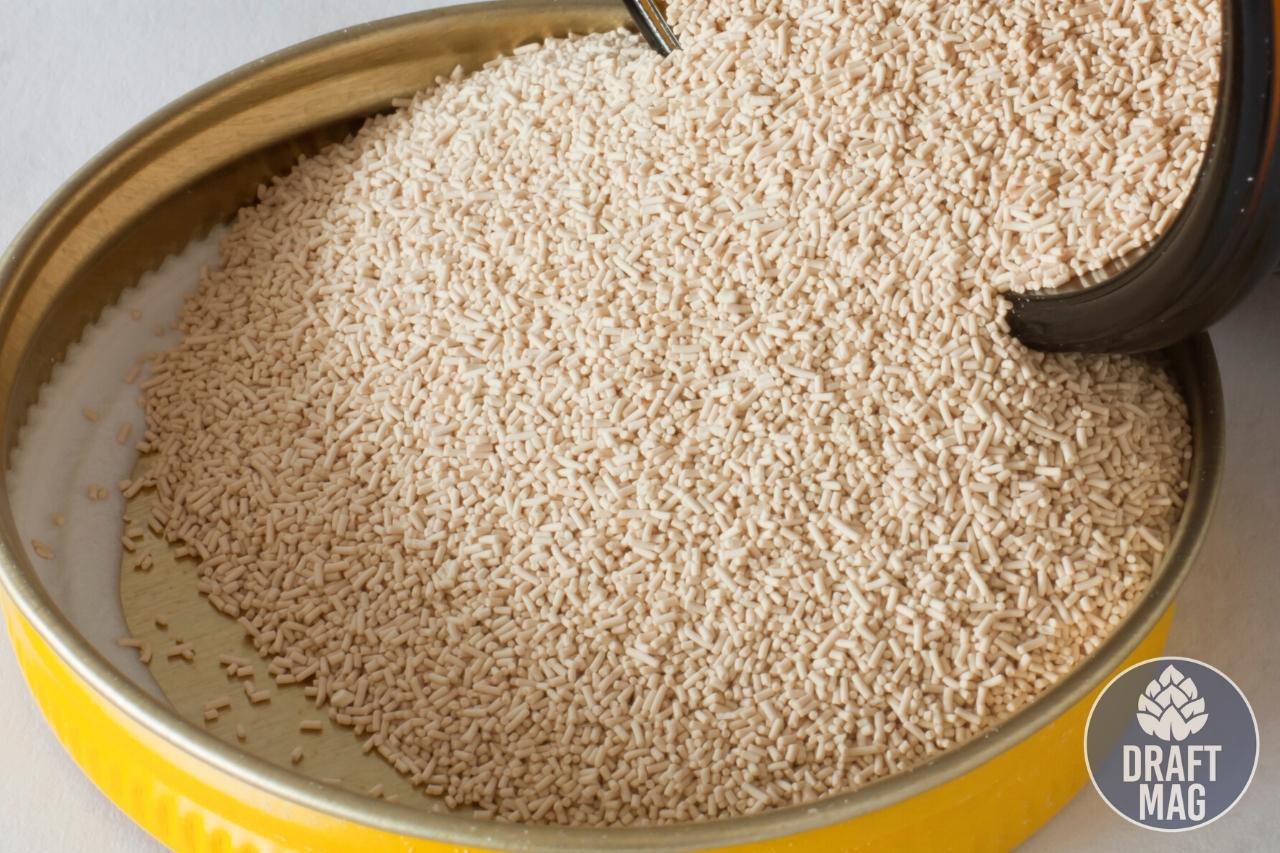 Yeast washing is a simple procedure to reuse the yeast to produce another batch of beer. Yeast is everything in homebrewing.
It also contributes significantly to the expense of the brew. A straightforward approach to saving money is recovering yeast from a previous mixture and inoculating it with the subsequent batch, which you will learn about in this article.
How to Wash Yeast
Preparing the yeast slurry and sterilizing the materials to be used are two of the most important steps to washing yeast. Washing yeast is not just a typical process in homebrewing; professional breweries reuse their yeast regularly.
Yeast can be very expensive, varying between $3 and $10 per pack, and exotic varieties cost twice or thrice the amount.
Wouldn’t it be great if you could save money and time by reusing your yeast while still producing some of the best beer around?
This comprehensive article gets you started on everything you need to know about yeast washing.
– The Necessary Equipment
The yeast washing process is not a complex laboratory process and requires minimal equipment found in your kitchen. But if you are yeast washing for the first time, it is recommended to use new jugs, jars and funnels, as the old equipment may lead to contamination.
You will need:
- Beer from the primary fermentation
- Sterile water
- Large funnel
- Glass jug
- Four one-pint Mason jars
- Sterilized cloth and jar tongs
- Gloves
- Sanitizer
– Yeast Washing Process
Here is how you can wash your own yeast.
-
Step 1: Preparing the Yeast Slurry
You will need a yeast slurry or cake to wash and store for further use. You need to harvest the yeast and prepare it to be extracted for washing. A detailed process of harvesting yeast is explained in the next section.
The first step is to carefully empty beer out of the primary fermenter, which leaves the yeast cells behind. The yeast slurry can be securely kept in a sealed fermenter for two days. Now close the fermenter until you prepare the equipment for the washing process.
-
Step 2: Preparing Washing Equipment
Before beginning the yeast washing process, make sure to gather all the necessary equipment. Sanitize the tools like jars, tongs, funnel and jugs in an acid-based, no-rinse sanitizer. If you are not comfortable using a sanitizer to clean the equipment, you can place them in sterile water and boil it for ten minutes.
-
Step 3: Add Sterile Water to the Yeast Slurry
Boil one gallon of sterile water for 15 minutes. Let the water cool down and bring it to room temperature. Now pour the water into the fermenter with the yeast slurry.
Shake the fermenter to ensure the yeast and water are mixed evenly into a homogeneous sludge.
-
Step 4: Separate Yeast From Other Trub Material
Wait for 45 to 60 minutes to let the sludge settle down. After an hour, all the heavy materials like hops, proteins and dead yeast cells will move to the bottom of the fermenter. The top light-colored liquid layer consists of the yeast.
Pro Tip: If you are using a carboy-type rigid container, it’s a good idea to rest your fermenter on its side. Decanting the yeast will be considerably more manageable once the trub has settled to the side of the carboy.
-
Step 5: Decantation
After an hour, carefully decant the yeast layer into a clean jug using the sanitized funnel. Leave the heavier trub material in the fermenter. Make sure to only allow the clear liquid into the jar without any waste material.
-
Step 6: Settling of Decanted Mixture
Wait for 30 minutes for the decanted mixture to settle down in the jug. The trub layer will begin to split and settle to the bottom. It’s a good idea to do this step before saving yeast to guarantee that the trub is completely removed and that only the purest yeast remains.
-
Step 7: Final Decantation
Once again, pour the top layer carefully into each of the clean jars. Let the jug rest for a while to ensure the remaining liquid is decanted without transmitting the trub. A clear separation can be seen between the yeast layer and the trub at the bottom.
Close the jars with clean lids. Make sure not to make the caps airtight as this enables any residual carbon dioxide to escape.
-
Step 8: Collect Healthy Yeast Cells
In a couple of days, you will observe new yeast cells at the bottom of the jars. The clean and healthy yeast forms the top layer while the bottom layer is made up of a darker brown trub.
All you must do now is decant the stored water from each jar and fill one jar with all the yeast deposits.
-
Step 9: Store or Reuse
You may utilize the yeast right now or save it for later. All you must do to use it now is to inoculate the brew with the contents of the pot. If you wish to keep the yeast, cover it with a sterilized lid and store it in the refrigerator until you’re ready to use it.
Store the jar in the refrigerator. The washed yeast can be used for up to four weeks only. The viability of the yeast will decrease, and its health will worsen if you leave it longer than that.
If you refrigerate the solution for an extended period of time, you will notice a separation. The clear liquid on top may be discarded since it will be yeast-free. If you cannot reuse your yeast after two weeks of washing it, it is a good idea to make a starter using the washed yeast. Moreover, the yeast can be divided and utilized for different brews.
It’s easy to reuse the yeast strain; let it warm up to room temperature, decant the liquid, then add a tiny amount of the cleansed slurry to the fresh starting wort.
What Is Yeast Washing?
Yeast washing is the simple process of reusing yeast to produce another batch of beer. It requires little equipment and may be completed in a short amount of time.
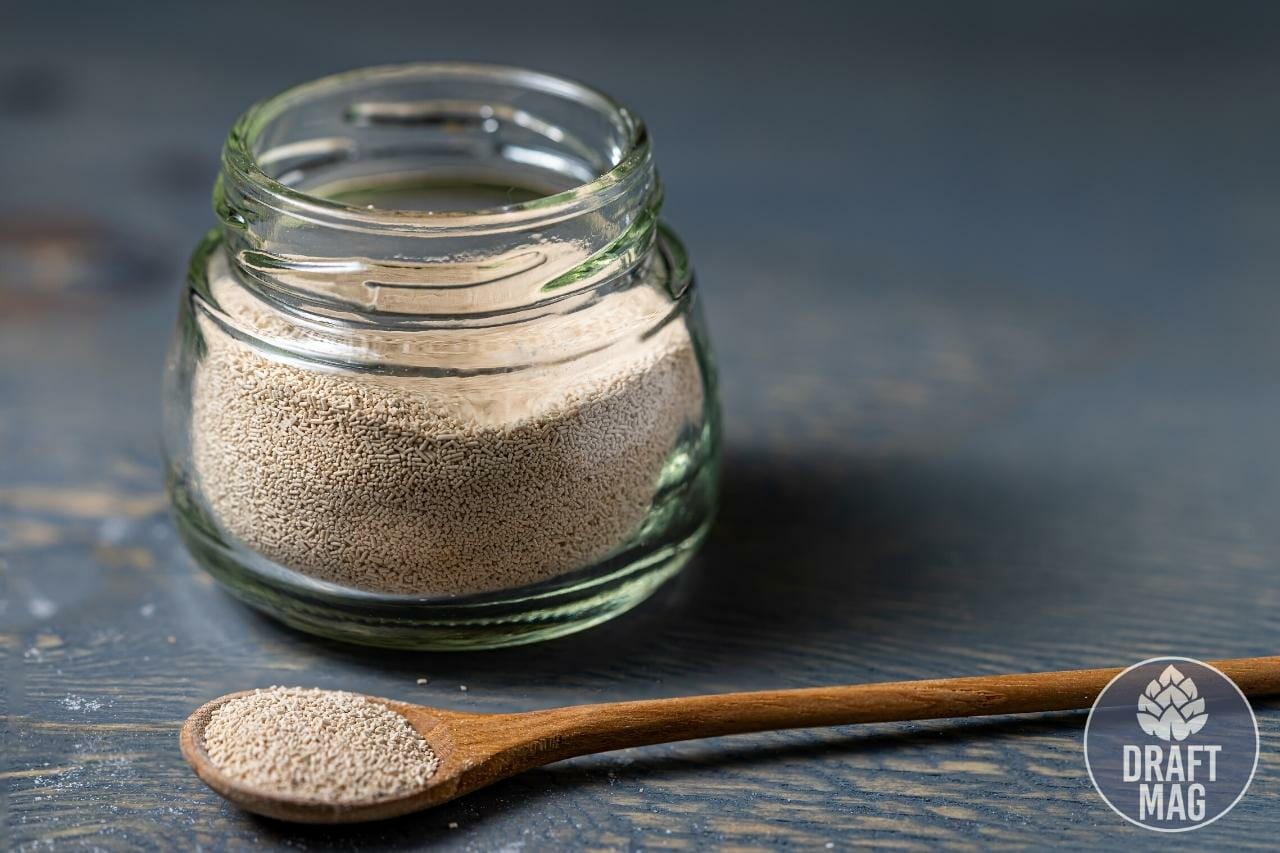 Yeast plays a vital role in brewing beers. The tiny microbe decides all the characteristics of a beer like its appearance, aroma, taste and alcohol content.
If you brew your own beer, you’ll immediately discover that the primary fermentation produces a lot of yeast.
Not only has the sugar in the mash been transformed to alcohol, but yeast cells have also increased in number and volume. Typically, the yeast is discarded at this point.
Yeast, in particular, may be cleaned and stored in the refrigerator for a while before being used in the next brewing procedure. This entire process of rinsing a beer’s yeast slurry for further use is called the washing of yeast.
Benefits
Apart from saving money, yeast washing also removes strong flavors and waste materials from the brew.
Are you still unsure if it’s worth your time and effort to wash yeast?
Compared to harvesting a yeast slurry, washing yeast has a few advantages.
– Saves Money
If you’re experimenting with different types of beers at your home, you must know how much it costs to buy a fresh pack of yeast every time. As a brewer, you have the challenge of buying a large variety of yeasts on hand if you wish to brew a variety of beers traditionally. However, this may quickly turn into an expensive affair.
While dry yeasts with prices up to $10 may still be affordable, liquid yeasts with prices of up to $20 contribute significantly to the brewing expenditures. If you want to use a lot of bottom-fermenting yeast, you can even triple the cost.
You cannot avoid the one-time purchase costs, but do you have to put the same amount of money into each successive brew?
No, since yeast may be reused up to a point. Depending on how much time passes between brews, washing yeast can help you bring as many live yeast cells into the next wort as possible while avoiding contamination and infection.
– Removes Strong Flavor
Washing your yeast will reduce the probability of transferring flavors from one brew to another.
Let’s say you just finished brewing a Belgian-style ale with orange flavor, but you decided to test the yeast with a Pilsner, given the fermentation profile. Washing the yeast eliminates the chance of transferring the orange flavor to the Pilsner.
– Removes Waste Materials
One of the critical advantages of washing your yeast is to remove the waste materials. Proteins from the malts, dead yeast cells and hops combine with the yeast slurry. Yeast washing ensures clean and healthy yeast cells for repeated use.
Challenges
Contamination and damage to the yeast during the washing process are two primary risks of this procedure. If the equipment, material and atmosphere do not satisfy the highest purity criteria, contamination can occur through soiling or bacteria in the yeast during washing. Although there is likely a scarcity of germs in the laboratory of breweries and yeast companies, amateur brewers may find it challenging to keep the environment clean.
Moreover, if the concentration of salts and sugars in the medium is not monitored, damage to the yeast can occur owing to frequent changes in the osmotic conditions of the yeast habitat during washing. The yeast is stressed and severely injured in certain circumstances, resulting in the death of numerous cells.
How to Harvest Yeast
Though people use yeast harvesting and yeast washing synonymously, there is a subtle difference between the two words.
Growing yeast from a fresh yeast pack or previous batch to increase the cell count and reuse it again is known as yeast harvesting. One of the procedures to harvest yeast is from the sludge at the bottom of your primary fermenter. This step of collecting the slurry and making it re-usable for the next batch is yeast washing.
Harvest yeast is another fantastic way to gather brewing yeast for a brew. This is the yeast you “harvest” from the fermenter after successfully fermenting. During fermentation, the yeast always increases in quantity. This harvest yeast can come from another hobby brewer, a brewery, or one’s own brew.
– Harvesting Yeast From Your Brew Is Easy
Once the primary fermentation is done, it’s critical to keep the cover on so that no flies or dust fall on the yeast cake. Since some green beer remains on the yeast, you can use it to float the yeast by whirling it open. No other yeast lumps must form.
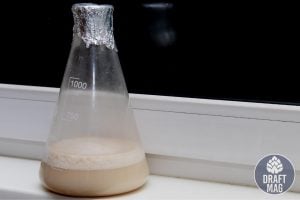
After that, you may transfer the swirling sediment to a sterile vessel such as a laboratory flask. Wait a few minutes, and you’ll notice that the supernatant is still milky but black particles have settled to the bottom. Hop resins and hot trub make up the majority of the solids.
You may now pour the supernatant into a sealable plastic container without lumps and store it in the refrigerator. This yeast may now be utilized in the next batch of beer.
A general rule of thumb is 0.5-1-liter thick pulpy harvest yeast per hectoliter for bottom-fermented beer. It is always recommended to use a tool to calculate the needed amount of yeast, as with every yeast dosage.
How Long To Store Yeast
You shouldn’t store the yeast for more than two to four weeks. After that, it is better to put some of the harvested yeast into a starter and pump it up again. It’s also worth noting that the yeast may still produce carbonic acid. As a result, the container you keep them in should not be made of glass (risk of splintering) and should be ventilated regularly.
Yeast Care and Shelf Life
While yeast washing is a straightforward procedure, keeping the obtained yeast healthy, clean and alive for the next batch is critical. One method is to allow the yeast cells to hibernate, which increases the life of the yeast culture.
While it is best to reuse yeast immediately, you can always extend its shelf life by keeping the cell walls intact.
Yeasts contain glycogen, which eventually turns into glucose, an essential product for beer. Yeast cells consume their glycogen reserves even while hibernating, and glycogen depletion increases the risk of cell rupture and subsequent loss of function.
Storing the yeast cells in cold temperatures between 33F and 38F helps the cells to slow down the process of utilizing glycogen. Typically, the viability of yeast cells reduces by 50 percent after two weeks. It is ideal to reuse the yeast cell as early as possible.
Yeast Washing vs. Yeast Rinsing
Yeast washing is a preventative technique to limit the possibility of contamination from the repitch. In contrast, yeast rinsing is a method to eliminate undesirable particles from being pitched together with the viable yeast cells. When you rinse yeast, you essentially ensure that only healthy yeast cells reach your next batch.
FAQ
Although the process is not rocket science, you might have some reasonable questions if you are washing yeast for the first time. Let us go through some of the popular FAQs on yeast washing and answer them.
– How Long Can I Store Washed Yeast?
One of the key factors determining the quality is its color change, so it’s time to get rid of the yeast if it looks like peanut butter (brown color). As discussed earlier, you can store the yeast in a refrigerator for one or two months. However, it is always ideal to reuse the yeast cells in their white and creamy stage.
– How Many Times Can You Reuse Washed Yeast?
Although it varies from brewer to brewer, it is ideal to reuse washed yeast for five to six batches. Some breweries also reuse the yeast for ten batches, which is rare. But it is always a personal choice, and the exact number will only become apparent with the passage of time and experience.
– Can I Pour the Beer From a Fresh Batch Onto the Yeast Slurry to Ferment It?
This is not recommended. Although it appears to be one of the most convenient methods, it is always better to wash the yeast if you want to brew authentic beer.
– Can You Wash Dry Yeast or Liquid Yeast?
Yes, both types of yeasts can be washed using a similar procedure discussed in this article. In the past, washing dry yeast did not yield the same quality as liquid yeast, but advancements in yeast fermentation technology made the quality consistent with liquid yeast.
– Do I Harvest Yeast From the Primary or the Secondary Fermenter?
You can use both, but ideally, the primary is recommended. Primary fermenter yields yeast that is less stressed and more flocculant. This is not the case with secondary fermenters, where the yeast has been affected by alcohol for a more extended period.
– Are There Any Other Ways To Save Costs?
Indeed, you can do this by using dry yeast rather than liquid yeast if you are new and experimenting with the beer at your home. Also, check out new yeast strains at your local brewery or online.
Stop Wasting and Start Harvesting the Yeast
 Washing your yeast is a terrific method to save money while still having enough clean and healthy yeast to brew your favorite beer.
In case you are doing the procedure for the first time, following proper sanitation techniques throughout the process can ensure successful yeast washing.
- Yeast washing is the simple process of reusing yeast to produce another batch of beer.
- This method requires little equipment and may be completed in a short amount of time.
- Apart from saving money, yeast washing also removes strong flavors and waste materials from the brew.
- Contamination and damage to the yeast during the washing process are two primary risks of this procedure.
- Growing yeast from a fresh yeast pack or previous batch to increase the cell count and reuse it again is known as yeast harvesting.
You can get creative and brew different beers and amaze your buddies when you have a few different healthy yeasts on hand in the fridge. Happy brewing!

