How to Can Beer for Beginners: The Most Effective Ways To Get It Done
Knowing how to can beer is an important skill if you love making homemade beers. It is possible to can your beer at home by simply purchasing empty aluminum cans with lids and a can seamer, then carbonating the beer in a can like in the bottling process.
However, canning equipment is a little expensive, but you should be able to get started with about 500 dollars. This informative guide will teach you everything you need to know about canning beer.
Steps To Canning a Beer the Easy Way
Preparing your equipment, brewing your beer, and waiting for proper carbonation are some necessary steps to take in order to can your homebrew beer successfully.
When you finish brewing your beer, the next thing is to package it to preserve it. Canning is an excellent option, and these are the steps to can beer at home.
– Prepare Your Equipment
Even though canning equipment is expensive, there are still some affordable ones you can for. The necessary equipment you will need include:
Cannular Bench Top Can Seamer
The can seamer is the biggest and most expensive piece of equipment used in beer canning. Simply put, this is the device that closes the can’s end or lid. Can seamers take up a lot of room in a production plant, but there are tabletop ones made for home use. Compared to a 15 dollar bottle capper, these can cost hundreds or even thousands of dollars.
The cannular can seamer table top can seamer comes with a heavy price. However, it is still one of the beer canning machine you can get on the market for less than 500 dollars. This beer can seamer operates manually, so you will need more grease to your elbow. This does not mean one person can’t operate it. It also seals cans in less than five seconds.
12oz Cans and Ends
Okay, so this may sound like rational thinking, but it’s important to remember that aluminum cans must always be purchased in large quantities. You’ll need to locate a homebrew supply business that sells them in smaller numbers since most can manufacturers only sell in batches. Choosing the right can size and shape is also necessary. Although 12 ounces are customary, you can also try 16-ounce tallboys, 16-ounce thin cans, or even 32-ounce growlers.
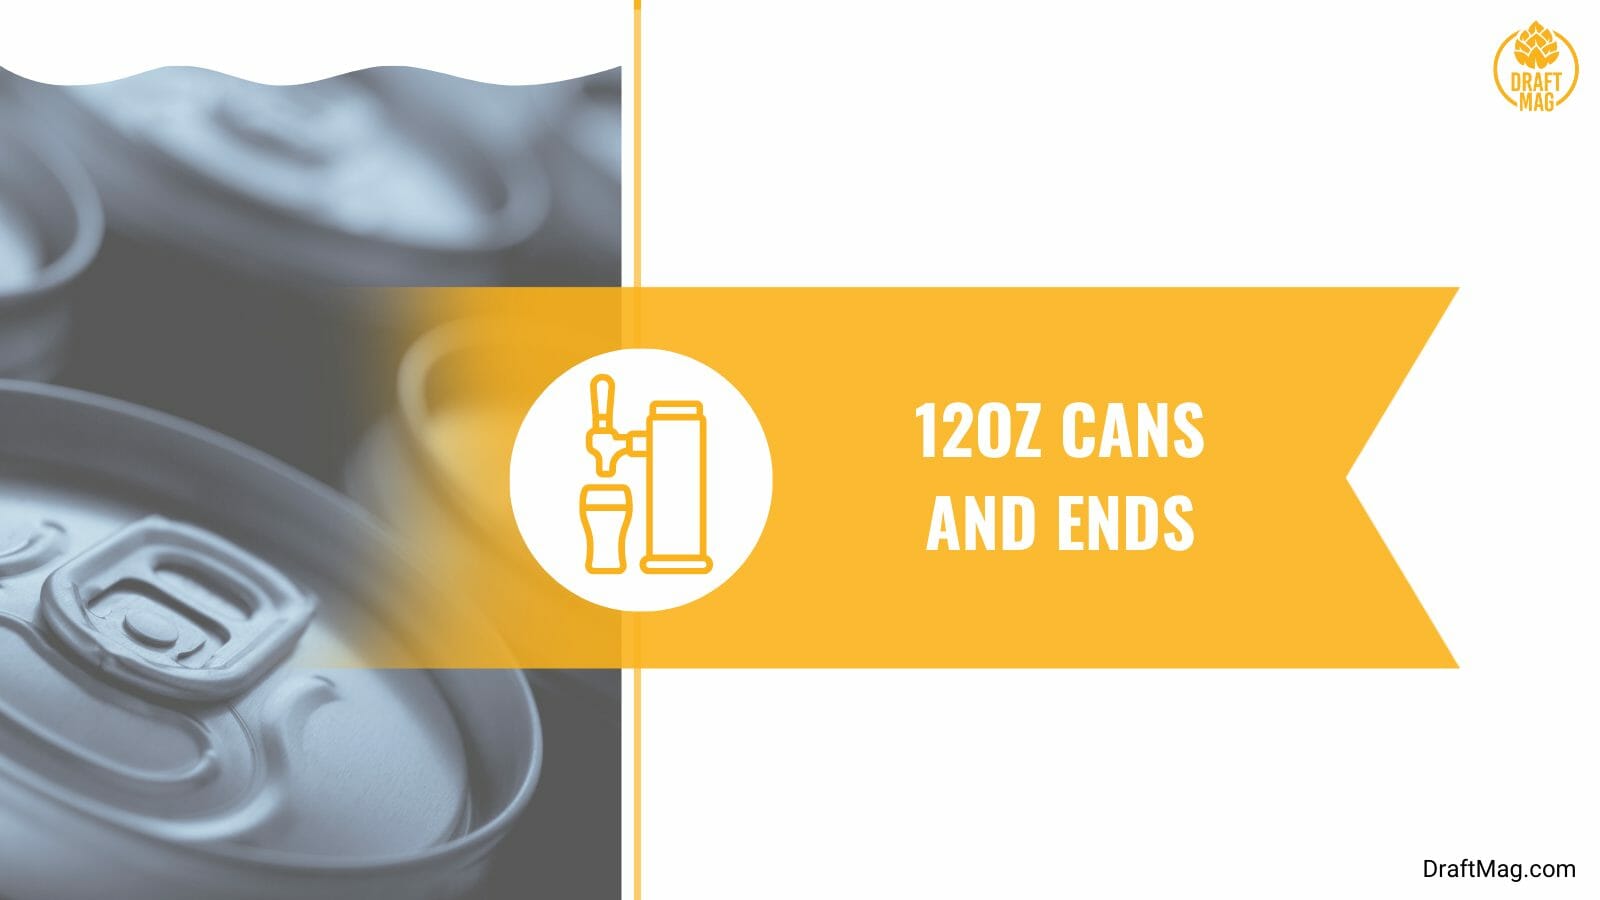
To find out what sizes and shapes your can sealer supports, see the instructions that came with it. The only place beginners in the canning game can get small quantities of cans at a low price is from Oktober. You can get 49 cans for $18. They have different varieties of shapes and sizes, with lids included.
CO2 Tank
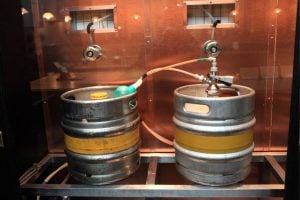
Aside from the other canning equipment, a CO2 tank is essential because it is better to flush your cans with CO2 before canning. This allows little or no oxygen in the can before filling it with the brew. You can also use this method to force carbonate your homebrew during the canning process.
Ends/Lids
You can order cans from any manufacturer, but do not forget to include the lids. However, some people might choose to buy them separately. Note that the lids come in different sizes, so make sure you are ordering the right one that matches your cans and can seamer.
– Brew and Ferment Your Beer Based on the Recipe
The first step after brewing your beer is to ensure fermentation is complete.

The bubbles should have reduced or stopped in your airlock. After all this, then you’re ready to can.
– Choose Between Force Carbonating or Can Conditioning Your Brew
If you wish to carbonate it during the canning process, you need to use a tap and a keg to transport Carbon Dioxide into your homemade beer while transferring it from the keg to the beer cans.
If you aren’t carbonating during the canning beer process, check your recipe and the required quantity of priming sugar for each can. At this level, you need to be cautious. If possible, test the priming sugar amount and fill levels on a small batch.
– Seal Your Can
This is the third stage of the beer canning process. This is where you’ll seal your can after filling it with homemade beer. Strictly follow the instructions of the can seamer to cover and seal each can adequately. It might be challenging to figure out the appropriate pattern of filling and selling, especially if you’re doing it on your own.
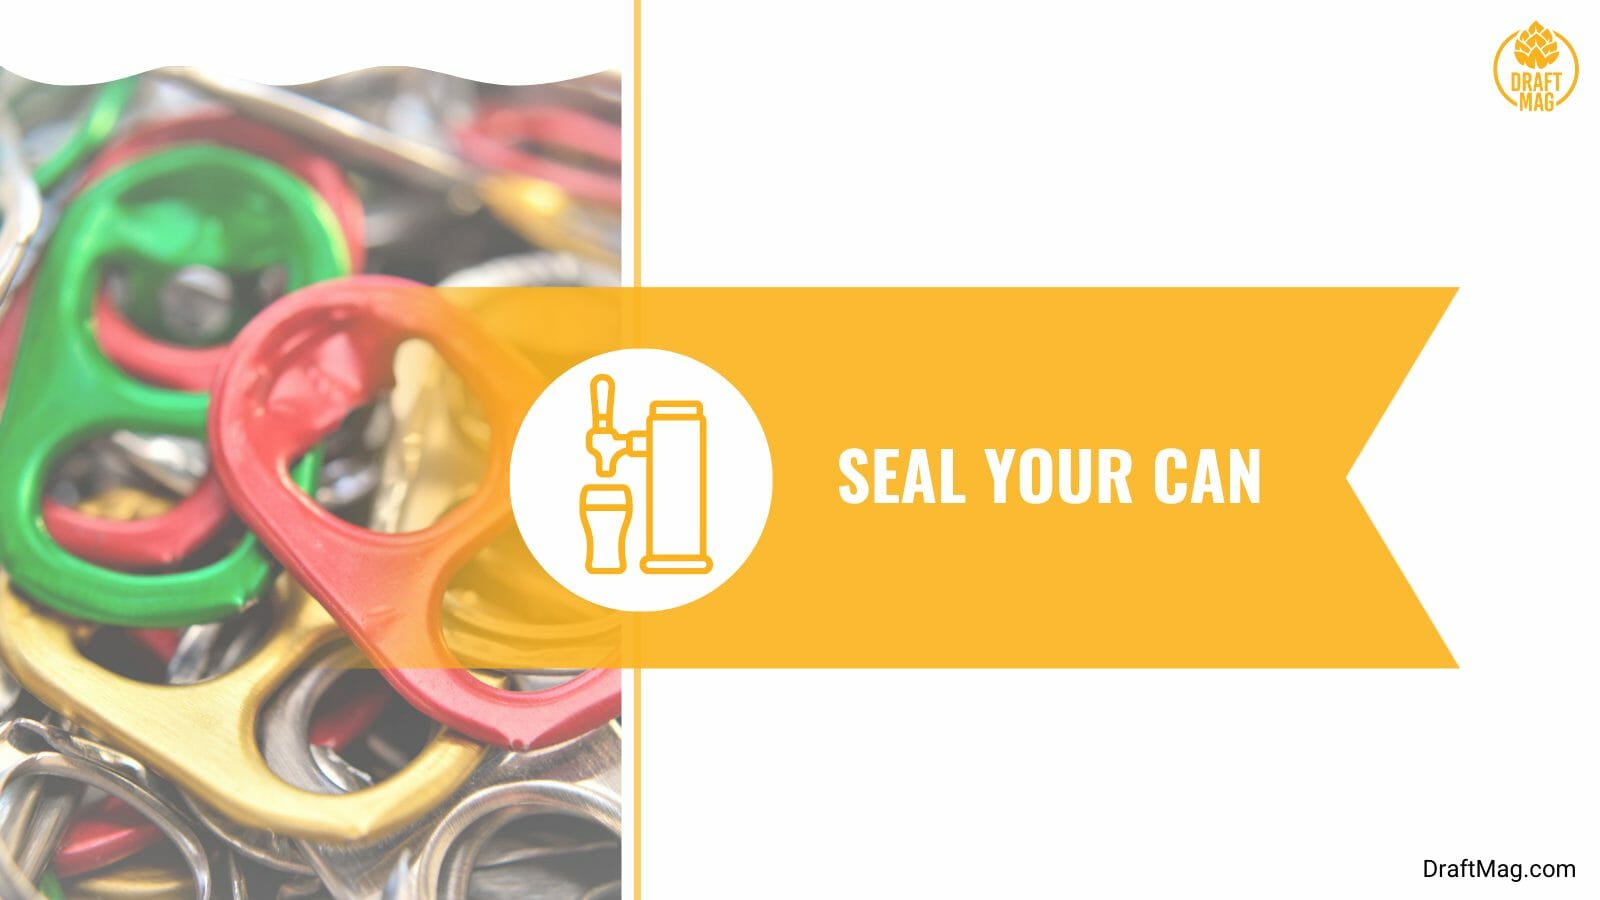
As we mentioned above, starting with a small batch rather than the whole batch is always better. This prevents you from messing up the entire batch in case there’s a mistake.
– Wait for Proper Carbonation of the Canned Beer
After your first few beer canning processes, inspect the beer cans regularly at intervals as they sit. If you notice the cans puffing up, changing in shape, or bursting, that means your beer may be over-fermented.
When this happens, don’t be scared. All you have to do is adjust the level of the priming sugars and fill levels, or you may need to try again. Ideally, the cans should be firm in a few weeks. However, if your can is still squishy, it means your can is underfilled or your homebrew is probably under-fermented.
– Watch Out for These Signs
There are different things to watch out for while canning so your beer can be up to standard. Here are some of the factors to look out for:
Oxygen Pick Up
Beer and oxygen have a special connection. Oxygen is essential for healthy yeast growth to occur during the initial stages of fermentation. The yeast also consumes malt sugars. This happens during the “aerobic respiration phase,” which promotes the growth of additional yeast cells to a population large enough to ferment the full volume of beer while also keeping any other organisms from settling.
This process typically happens within the first 24 hours of the brewing process. When this procedure is finished and the yeast has used all of the available oxygen, they change their metabolic pathways and start active fermentation. This stage involves the yeast consuming sugars; instead of reproducing, they produce ethanol and carbon dioxide (buzz and fuzzy)!
Low Fills
First, it is a requirement set down by the government that your can be filled to the proper level. This guarantees that the customers receive value for their money and are properly informed about the alcohol content on the label.
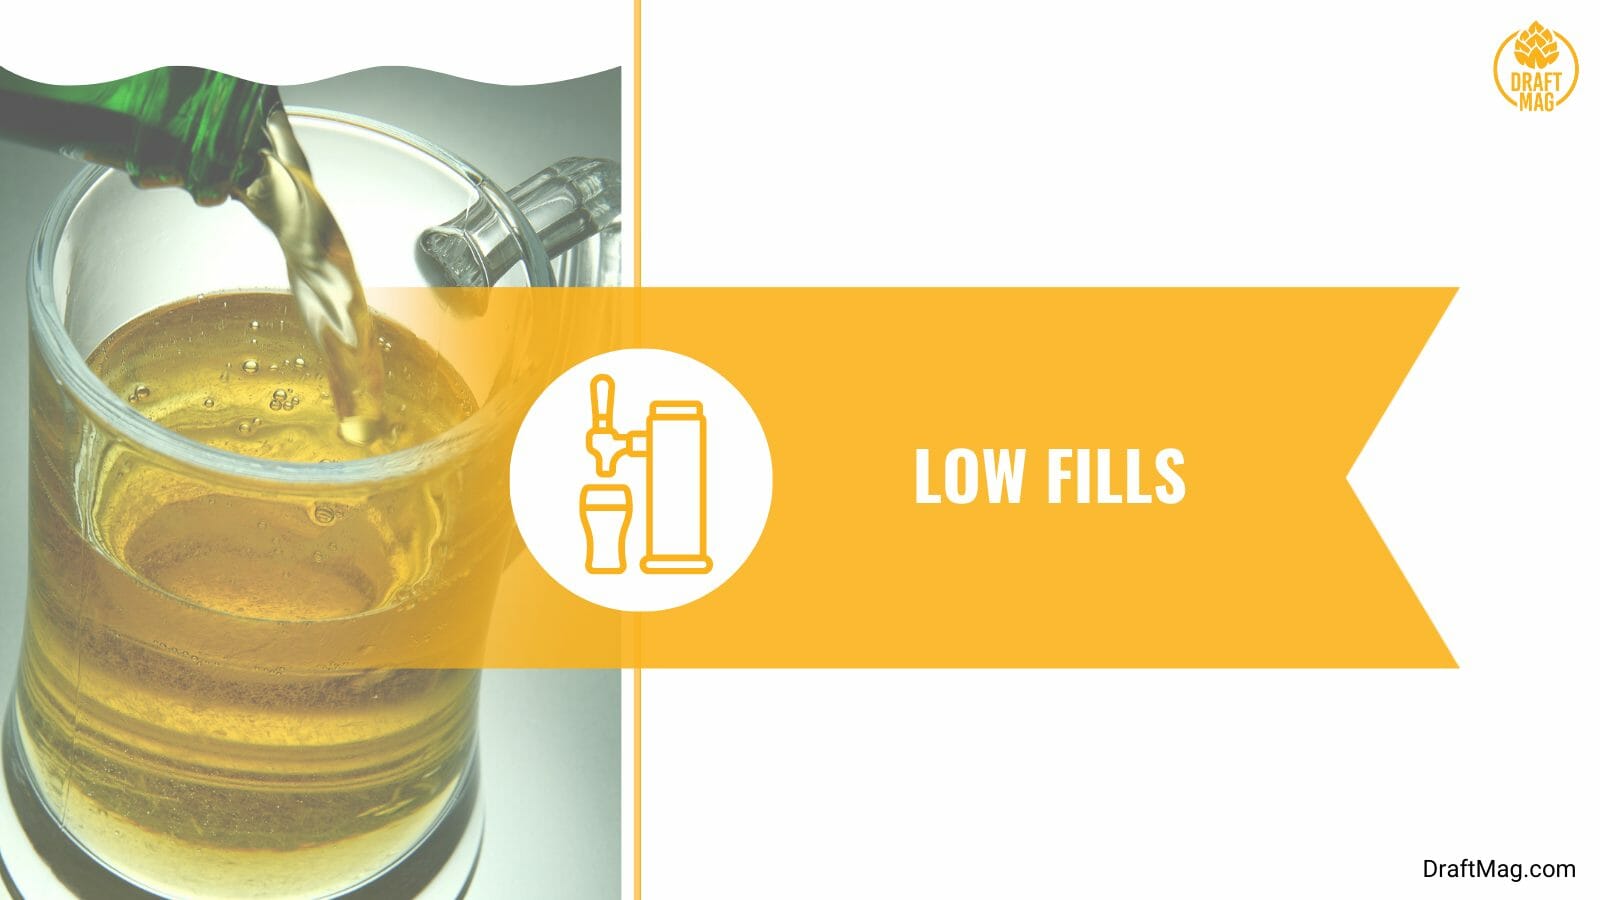
Additionally, it guarantees that you’re using the appropriate amount of alcohol in the beer.
Seaming
The precise, automated seaming step in canning ensures the beer lids fit precisely on the cans by forming a hermetic (airtight) seal. The cans go through a two-stage “double seam action” procedure which involves folding the can’s lid and the can itself twice. It requires an action that is exceedingly exact, with tolerances of one-thousandth of a millimeter.
Pre-Rinsing
Cleaning the cans before they are transferred from the pallet to the filler is known as pre-rinsing. By doing this, any debris that may have gotten into the container will be removed. The cans should have already been produced in accordance with food and hygiene regulations. Otherwise, you should take steps to clean them up before using them.
Secondary Fermentation
You need to prevent any form of secondary fermentation when canning your beer. Secondary fermentation occurs due to the presence of beer-spoiling microorganisms that come together to ferment the beer. You can use a mild sanitizer to prevent it.

Yeast strains are another potential beer spoiler found in cans. They secrete the enzyme glucoamylase from their cell wall, which can break down starches and dextrin in beer to fermentable sugars.
Chemical Contamination
Chemical contamination is the last item to be on the lookout for if your canning line includes an integrated cleaning system that is permanently attached. For instance, if someone unintentionally leaves the incorrect valve open during the packaging run, it will cause cleaning agents to leak into the beer as it fills.
– Enjoy Your Beer
This is the last stage, the moment of truth. All things being equal, you should hear the outstanding hiss that comes from opening a can, and your home brew should taste great and fizzle on your tongue.

However, if the craft beer explodes in your face the first time you try it, it’s nothing serious. You can always tweak the variables and try again next time. We believe and know you can do it.
How To Carbonate Beer in a Can
If flushing carbon dioxide feels like a difficult thing to do, the good news is that you can carbonate beer in a can just like how it’s done in a bottle. Like bottle conditioning, you will have to add a little measured amount of priming sugar to each can before filling.
This will give your yeast more work to do, leading to an increase in alcohol but, most importantly, more carbonation when you open the can of beer. It also causes the same problem in bottles when you under or over-ferment your brew.
When your yeast has sides off before canning or you do not add the required amount of priming sugar to each can, your brew will come out sweet and flat.
FAQ
– Why Should You Can Homebrew Beer?
Using cans for your homebrew beer is better because they are lighter, easier to clean and fill, and they are also portable and recyclable. Considering all the risks and money involved, you may ask yourself if canning your homebrew is really worth it.
Despite everything, there are still various benefits of canning your brew over kegs or bottles. There is a difference between the weight of a 50-bottle batch and a 50-can batch. The batch of cans is lighter. If you are placing your brew on a high shelf or transporting the beer up flights of stairs, cans will be better than only other packaging options.
The whole end of a can is open before filling and sealing. This feature makes filling the cans with beer and sanitizer solution easier and quicker than filling bottles or plastics.
You can take cans anywhere and you don’t have to worry about breaking a beer glass bottle on your patio or tossing your brew in a bag. Unlike bottles, where you have to ask your friends for the bottles back, a can is for one-time use only. When you are done with the can, you can quickly dispose of it in the recycling container.
Conclusion
By now, you should have enough knowledge on how to properly can your brew. Here is a recap of the main points mentioned.
- It is possible to can your beer at home by simply purchasing empty aluminum cans with lids and can seamer, then carbonating the beer in the can like how you do the bottling process.
- Canning equipment is a little expensive, but you should be able to get started with about 500 dollars.
- The steps to canning your home brew are: brewing and fermenting your beer according to the recipe, determining if you’re forcing carbonation or can conditioning, sealing your cans, and waiting for the canned beer to carbonate, then your brew is ready to be enjoyed.
- To can a beer, you need a can seamer, cans, can lid and Carbon Dioxide tanks.
- There are different benefits of using cans for your homebrew. Cans are light, portable, recyclable, and easy to clean and fill.
Now that you have all the necessary information at your fingertips, we challenge you to can your brew like an expert. Get everything you need and start right away!