Rehydrating Dried Yeast: Active Yeast For Rapid Fermentation
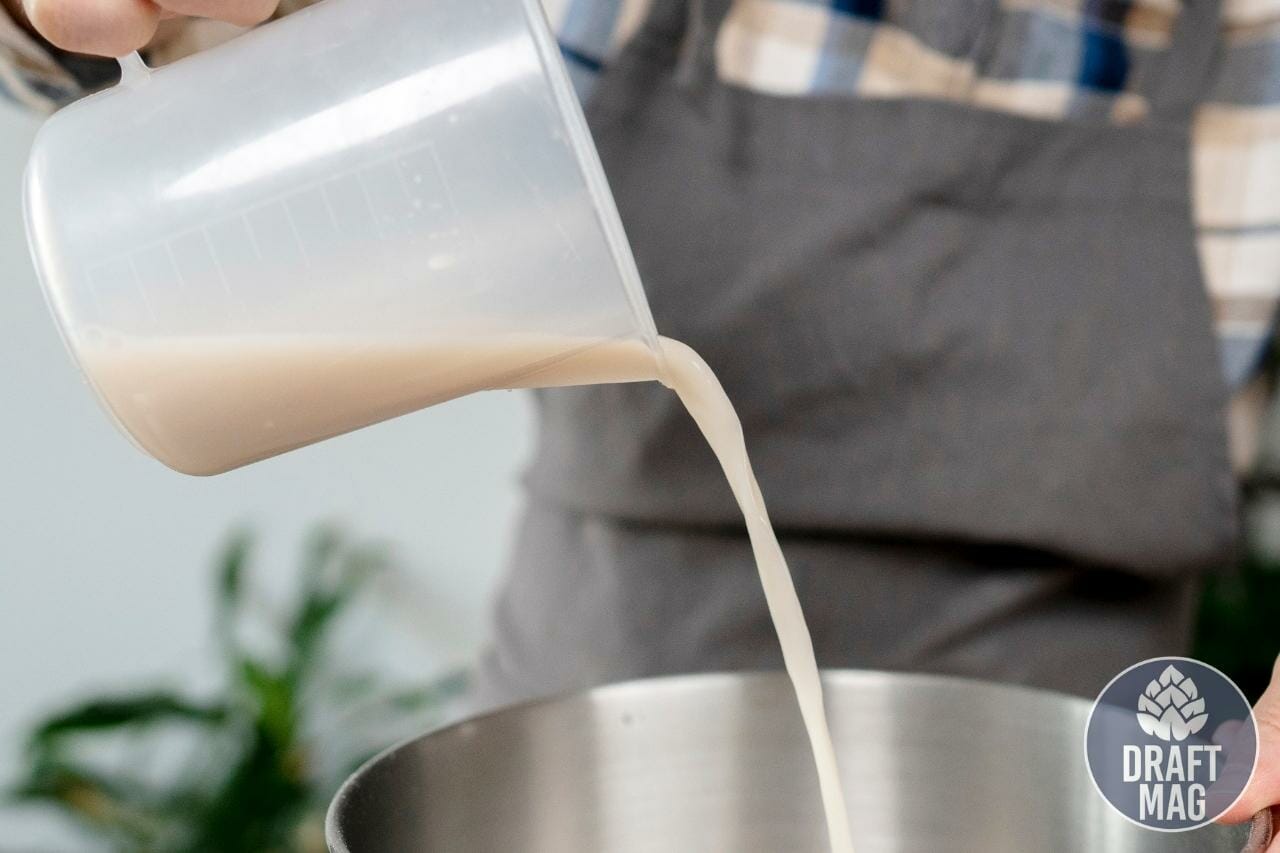 Rehydrating dried yeast is one of the best ways to maximize yeast cells viability and ferment quickly. Naturally, dried yeast is not ideal for fermentation because of the dormant yeast cells. Rehydrating yeast involves warming your yeast, adding boiling water and finding the right temperature.
While many brewers fail at doing it right, this article is here to help you become a pro at rehydrating dried yeast so read on.
How To Rehydrate Dry Yeast: A Step-by-Step Guide
Rehydrating yeast for beer brewing doesn’t take more than 20 minutes. When you purchase a pack of dried yeast, it may or may not come with instructions on how to rehydrate.
If your pack of yeast doesn’t come with rehydrating instructions, here is a step-by-step guide to hydrating dry yeast.
- Sanitize every bowl. Once you open the container, the yeast is susceptible to contamination. Maintaining a high level of cleanliness reduces the chances of something other than yeast coming up in your beer.
- Let your pack of dry yeast warm to room temperature.
- In a kettle, boil about 250ml (8.4 oz) of tap water.
- Allow the boiled water to cool to a temperature between 78 – 104F (25 – 40 C). Note that the temperature varies depending on what’s on the package of your dry yeast.
- Pour the water into a bowl.
- Add your yeast nutrient (A famous brand is GoFerm). Although an optional step, expert brewers believe that adding this improves rehydration, making it easy for dry yeast cells to be viable and active.
- Sprinkle your dry yeast into the water and mix it very well using a sanitized spatula.
- Slowly add your wort in small amounts at a 5-minute interval to reduce the temperature of your yeast mixture.
- Mix very well and leave the mixture for about 10 – 15 minutes.
- Check to see that the temperature is down to about 10F (-12 C). Once it’s at this point, your dry yeast is ready for pitching and fermenting.
Best Water Type And Temperature for Yeast Rehydration
There are conflicting answers regarding the kind of water to be used when rehydrating dried yeast. Ideally, it’s best to use your tap water or bottled spring water for the yeast hydration process because it is hard and osmotically balanced. The hardness helps with the quick activation of yeast cells.
Using deionized water or distilled water can kill the yeast cells because the contain certain chemicals. If you’re not sure your tap water is clean enough, you can choose to boil it. Allow it to cool to a lukewarm stage when you have done this. You must note that the cooling water should meet the required rehydration temperature of about 104F – 115F (40 – 46 C).
You can use the wrist-test to ensure your water is at the right temperature: sprinkle a few drops of water on your wrist, where your veins are visible. If it feels hot, you have to wait some more for your water to cool. If it doesn’t, it’s safe to begin the rehydration of your dried yeast.
Pros and Cons of Using Rehydrated Yeast
– Pros
- Rehydrating dried yeast allows the cells to reactivate their metabolic activity and return to work.
- Rehydrating yeasts allows them to draw water across the cell walls, which maximizes the viability of the cells.
- You have more beer varieties when using rehydrated yeast.
- It creates a better tasting and better smelling brew.
– Cons
- Slightly time-consuming.
- Rehydrated yeast doesn’t have a long shelf life. Rehydrate only when you are ready to brew.
Pros and Cons of Using Dried Yeast
– Pros
- Dry yeast can last the longest if kept in the appropriate circumstances.
- Dried yeast is low-priced.
- Dried yeast has all the nutrients it needs to get started and doesn’t require a starter. The addition of a starter depletes those resources.
– Cons
- It restricts the variety of beers available. There are more beer styles, including liquid yeast, than dried yeast.
- Since you aren’t using a starter, you won’t get a clean yeast culture.
- Half of the viable cells die during the brewing process, resulting in two problems:
- You need more yeast to double the pitching rate.
- The dead cells in the brew add an unwanted smell and taste.
Yeast Rehydration Process: Is It Even Necessary?
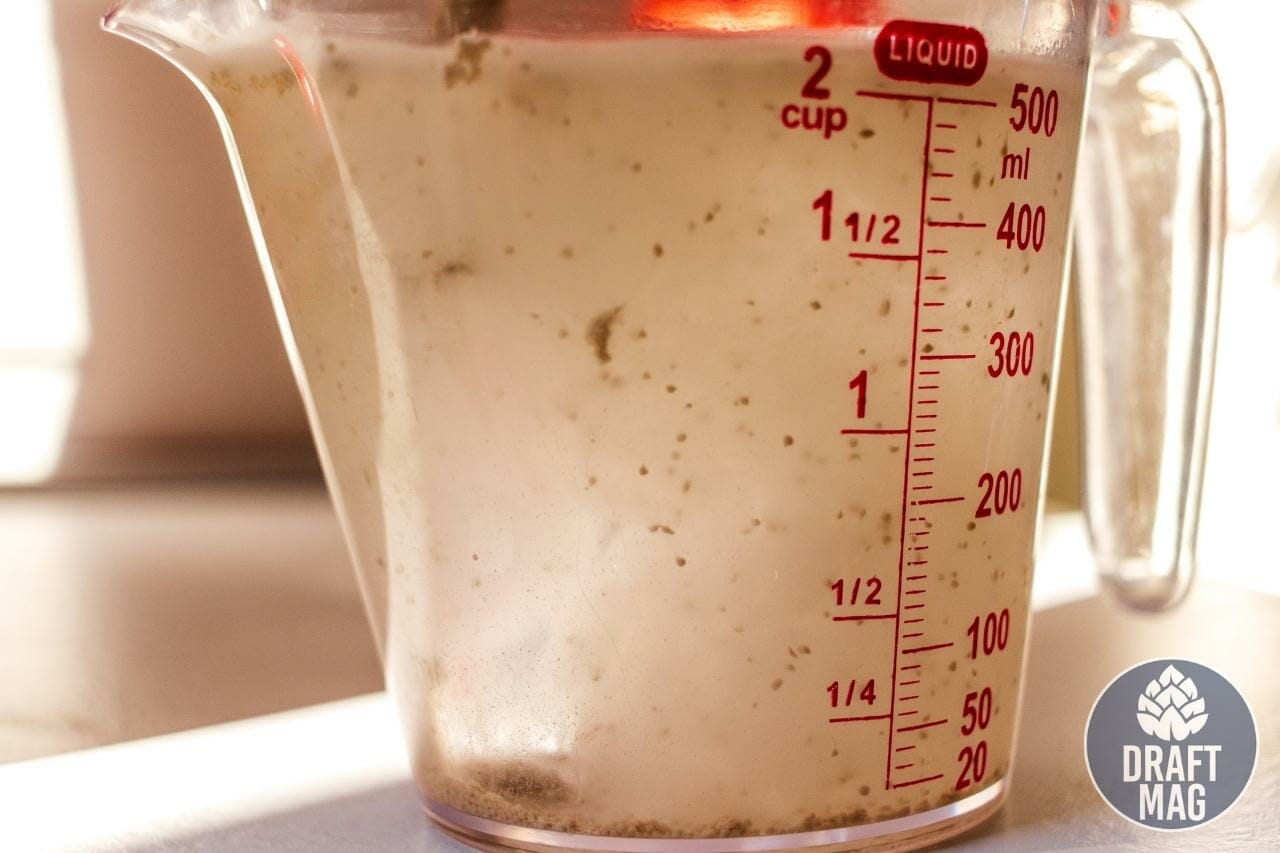 Yeast rehydration is necessary for brewing because it ensures that the dried yeast returns to a liquid state while retaining many healthy cells.
There have been a lot of arguments regarding the necessity of using dry yeast for brewing after rehydrating it.
The truth is, whether you choose to rehydrate your dried yeast or sprinkle it on your brewing wort, it will ferment either way. However, you have to understand that sprinkling dried yeast on your wort destroys more than half of the yeast cells.
Furthermore, the high sugar content in the wort restricts the dried yeast from reacclimating to a liquid state. As a result, the fermentation process becomes compromised, leading to a low-quality beer. If you aim to brew high-quality beer, then rehydrating yeast is a necessary process to undertake.
What Happens if I Forget To Rehydrate the Yeast?
Dry-pitched fermentations usually go off without a hitch in the majority of situations. However, this technique is not recommended with high gravity or soured worts with low pH. It also requires a high level of expertise to brew with dried yeast.
You should consider these guidelines if you opt to sprinkle the dried yeast onto the wort without rehydrating it.
- Avoid direct contact by not soaking the sachet or packing it into the wort.
- Sprinkle the yeast evenly across the surface of the wort.
- Maintain strict sanitary standards while direct pitching.
- Keep it as cool as possible. You can store dry yeast at room temperature longer than liquid yeast. However, keeping it cold extends the vitality of the cells, so store it the same way you would liquid yeast.
- Aeration of dried yeast is not compulsory. The yeast manufacturer already includes critical nutrients required for cell growth throughout the drying process. As a result, you can pitch dried yeast into a wort low in oxygen. Aeration isn’t necessary, but doing so wouldn’t harm your brew.
- Since immediate pitching kills half the viable cells, double your pitching rate.
Rehydrating Dry Yeast vs. Direct Pitching: Which Is Better?
Here’s what you should know — direct pitching is when you pitch dry yeast directly into a wort. While rehydrating dry yeast rejuvenates the cells to perform optimally during fermentation.
Before you stop reading here to choose either, it is vital to note that yeast cells can die from a high sugar concentration in the wort. Rehydrating your yeast before pitching will help maximize the viability of the yeast cells.
The battle of supremacy between directly pitching or rehydrating dry yeast has been ongoing for a long time. Some brewers believe direct pitching of dry yeast into the wort is enough to brew a good beer. On the other hand, others believe that rehydrating the dry yeast before pitching is crucial for brewing a great beer.
Although direct pitching is a straightforward method of brewing beer, the yeast takes a long time to convert sugar into alcohol. Even though a beer brewed using the direct pitching method often tastes good, there’s a high chance that rehydrating the dry yeast first will make your beer taste better.
One of the benefits of rehydrating dry yeast is that it ensures that yeast cells can start metabolic activities leading to rapid fermentation. While it is challenging to decide the best way to brew beer, the evidence points to yeast rehydration as a better way.
Temperature As an Important Factor for Brewing With Rehydrated Yeast
All yeasts have a preferred temperature range to function at their best. Simply put, your standard ale yeast thrives at temperatures between 66 – 72 °F (19 – 22 C). On the other hand, Lager beer yeasts prefer temperatures between 45 – 55 °F (7.2 – 12 C). The preferred temperature range is the sweet spot for ensuring your yeast does its job without producing too many off-flavors.
A rise in temperature leads to an increased yeast activity, worsening foam stability and beer color, a drop in pH, and a higher loss of bitter components. In comparison, a lower temperature can impede the fermentation process and cause undesired components like ethanal and vicinal diketones to form.
It can also cause the formation of undesirable elements like acetone and vicinal diketones to form. Over time, the yeast falls into shock and doesn’t ferment at all.
Yeast can only exist in a limited number of circumstances and is extremely sensitive to temperature changes. Rapid temperature shifts harm fermentation. During fermentation, it’s crucial to keep an eye on your fermentation and steady the temperature.
FAQ
Can you use tap water to rehydrate yeast?
Yes, tap water can be used to rehydrate yeast. It is important to use water that is at a temperature between 35-43°C (95-110°F) and to mix the yeast and water together in equal parts before letting it sit for 5-10 minutes to fully rehydrate.
How long does it take for dried yeast to be rehydrated?
Dried yeast typically takes 5-10 minutes to rehydrate, but may vary depending on the temperature and type of yeast used.
Can you activate dormant yeast cells in dry yeast without rehydrating?
While it is possible to activate dormant yeast cells without rehydrating, it is not recommended as rehydration allows for more consistent results.
Conclusion
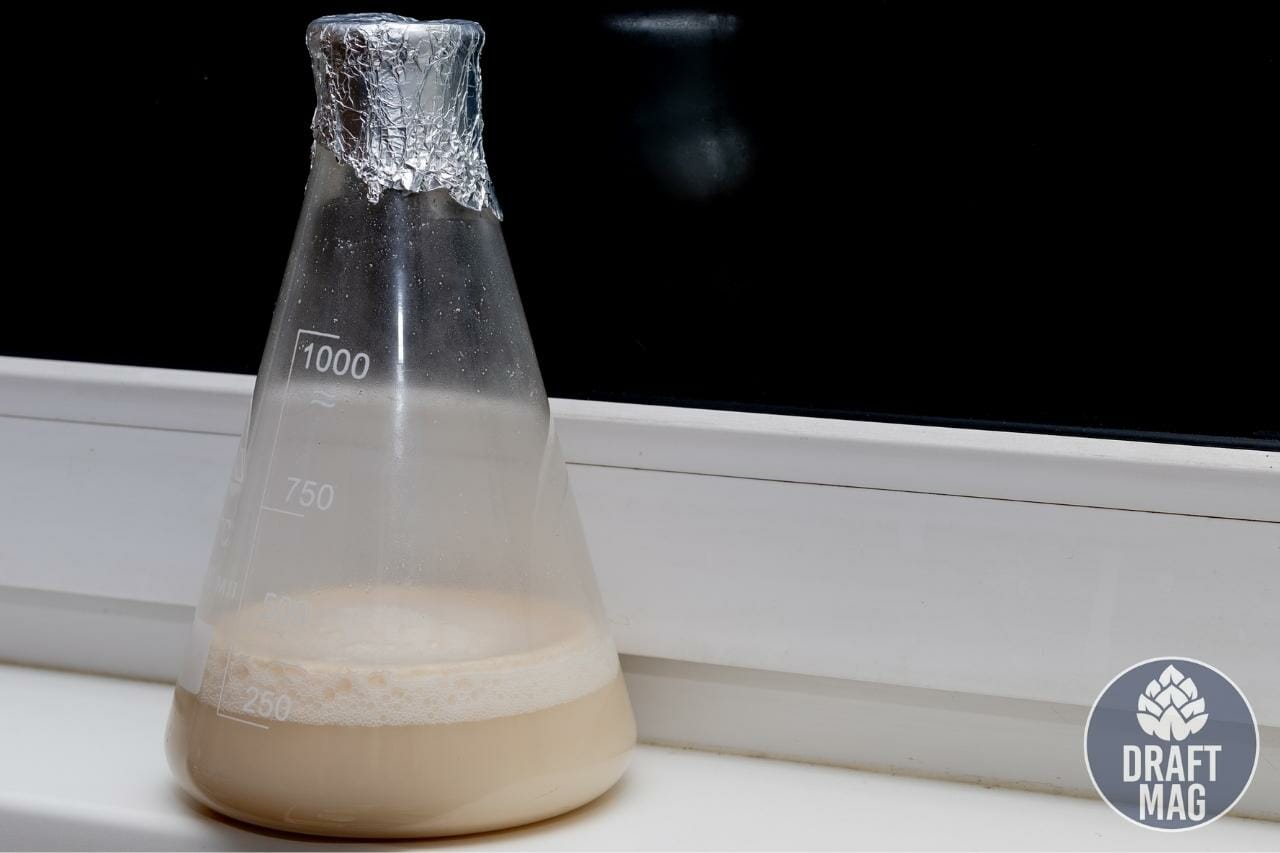 Here’s a summary of what was discussed in this article, take a look at the points:
- Rehydrating your dry yeast before pitching is a necessary step to take if you want to brew the best beer.
- Although direct pitching is a popular method, it’s best to rehydrate your dried yeast first.
- There are steps to follow if you want to rehydrate dried yeasts properly.
- The type of water and the temperature of the water is crucial in the rehydration process.
- Rehydrating dried yeast plays several essential roles in the brewing and fermentation process.
Yeast is an essential ingredient used in brewing, and if you’re using dry yeast, it’s important to rehydrate your dry yeast. Nothing beats drinking a well-brewed, great-tasting beer. To make sure you achieve this, you should rehydrate your dry yeast with the steps in this article before pitching.

