Fermzilla: A Detailed Review of Fermenters for Homebrewers
 FermZilla is well-known as a reliable fermenter for homebrewers as it comes with all the advantages of a stainless steel fermenter.
As one of the top conical fermenters in the market, it is easy to assemble and even allows you to view the process while it’s happening.
The fermenter provides an all-in-one solution for fermenting, carbonating and dispensing beer. Our FermZilla review will cover all you need to know about this fermenter and if it’s a good fit for your needs.
Pros and Cons
| Pros | Cons |
| Budget-friendly fermenter with high-quality features | It takes some space in your homebrewing kitchen |
| Easy to assemble with the provided guide | It has to be empty before you can brew again |
| Clear container for viewing the brewing process | |
| Limits oxygen exposure and simplifies the transferring process |
Highlights
With the wide range of fermenters available in the market, homebrewers have many options to enhance their experience. FermZilla is one of these top choices, well-known for providing pressure fermentation at an affordable price.
Here are some highlights of the fermenter:
- Large opening to easily pour the wort and clean afterward
- Designed as a clear plastic container so you can watch the brewing process
- Highly durable construction with plastic and stainless steel
- Offers pressure fermentation and reduces oxygen exposure
- Easy to transfer and prevents clogging
- Budget-friendly fermenter with high-grade features
- Total volume of 7.1 or 13.2 gallons
– [easyazon_link identifier=”B0851WJ4S9″ locale=”US” tag=”draftmag0a-20″]Review of FermZilla[/easyazon_link]
[easyazon_image align=”center” height=”500″ identifier=”B0851WJ4S9″ locale=”US” src=”https://m.media-amazon.com/images/I/31bhax2ynDL._SL500_.jpg” tag=”draftmag0a-20″ width=”332″]
The fermenter features a wide range of innovative features that sets it apart from other pressure fermenters. Some of these features include the yeast dumping container and floating dip tube. It has fantastic performance in pressure fermentation and high durability. Let’s take a closer look at this fermenter.
– What Is a FermZilla?
The FermZilla is a fermenter designed to brew beer under pressure for homebrewers and can be used to ferment, carbonate and dispense beer from the same place. It is an innovative product, and any homebrewer who wants to improve their beer quality will benefit from this device.
-
KegLand
Although it is constructed with plastic, it is still highly durable and budget-friendly. It mimics a professional-grade fermenter. FermZilla is owned by KegLand, known as innovative homebrew specialists in Australia.
Before the FermZillas fermenter was released, KegLand had made a product called Fermentasaurus, which was well-known as a great pressure fermenter. The product achieved high success, making them further invest in fermenters.
There are two versions of this fermenter that you can purchase based on your needs. There is one with 7.1 gallons and the other with 13.2 gallons. The two tanks have the same components and design, with the former being big enough to fill your basic corny keg.
– What’s in the Box?
When you first purchase your fermenter, you will notice that it is well protected in a branded and well-packaged box. Even if it is a bit large when you put it together, the fermenter can be put together in a compact box once it is disassembled. All the components are also well tied to the frame.
After you unpack it, you need to assemble it by following the instructions on the website. It’s straightforward to put your fermenter together with all the needed parts.
Here are the parts that you will find in the box when you purchase it:
- Conical standard tank
- Stainless steel frame
- Lid with airlock
- Collection container and removal tool
- Butterfly dump valve assembly
- Steel handle
- Gaskets, seals and screw caps
Aside from the starter kit, you will also get a FermZilla pressure kit and spunding valve assembly, which will help you ferment beer under pressure and make closed transfers.
In the pressure kit, you will get:
- Stainless float assembly
- Silicone dip tube
- Liquid and gas ball lock posts
With the spunding assembly kit, you will be given the following tools:
- BlowTie valve
- Fittings
- Pressure gauge
You can lay out all the components provided in the box and follow our steps in setting up the fermenter.
– How To Set up the FermZilla
You can set up your FermZilla conical fermenter on brew day and during the mash. It doesn’t take a long time to assemble it, so while your wort is boiling, you can follow the steps below to assemble your pressure fermenter.
-
Clean the Fermenter
When you take the fermenter out of the box, giving it a little rinse first is a good idea. It might have become dusty, and you might see some oily texture on some parts. Although you’ll sanitize it after, it’s still a great idea to clean it up.
-
Check All the Parts
If you had your fermenter delivered, it’s important to check all the parts to make sure you have all the components. It comes with extra rings and gaskets, which act as spare parts. Thus, it’s worth double-checking.
-
The Cone-Shaped Seal
Although setting up your fermenter is simple, a few challenges might come up. Many brewers had challenges with the cone-shaped seal. To use this, you should separate the two parts of the seal to fit inside the top opening. Installing the seal is tight, but you should make them fit.
-
Check for Leaks
Another thing you should do after assembling your fermenter is to fill it with water. You can also add StarSan with the water, then pick up the unit and turn it upside down to ensure there are no leaks. If there are, you should check your assemblage again.
-
Test the Gas Pressure
If you have no water leaks, you should check for air leaks and gas pressure next. Do so by connecting your CO2 tank with the gas ball-lock post, then increase the gas pressure to about 10 PSI. Listen closely for hissing sounds when you add pressure. You should check the components and tighten any posts if you hear anything.
The lid’s thread is made of plastic, so you can get air gaps in the plastic if you make it too tight. If this happens, you need to depressurize the tank and loosen some of the posts. Once the gas pressure is checked, you can move on to the next step.
-
Sanitize the Fermenter
Now you can sanitize your fermenter. It’s important to pressure transfer the sanitizer you added earlier from the fermenter to a corny keg. Once you have done that, it should be ready for a beer.
-
Start Brewing
The entire setup should take about 30 minutes to 1 hour, especially since you need to test and troubleshoot the device. Once that’s done, you can now add your wort to the fermenter and start fermenting it under pressure.
– Fermenting With the FermZilla
After setting up your fermenter, you can follow the steps to ferment and carbonate your beer. Luckily, this fermenter is easy to use, even if it’s your first time.
Follow the steps below:
-
Fill the Fermenter
On brew day, you simply have to drape the output hose from your plate chiller to the top of the fermenter. Ensure that the hose is well-balanced because the fermenter can be a bit unstable when it’s empty. Also, while the wort is flowing from the plate chiller, be careful not to bump it while you’re filling it.
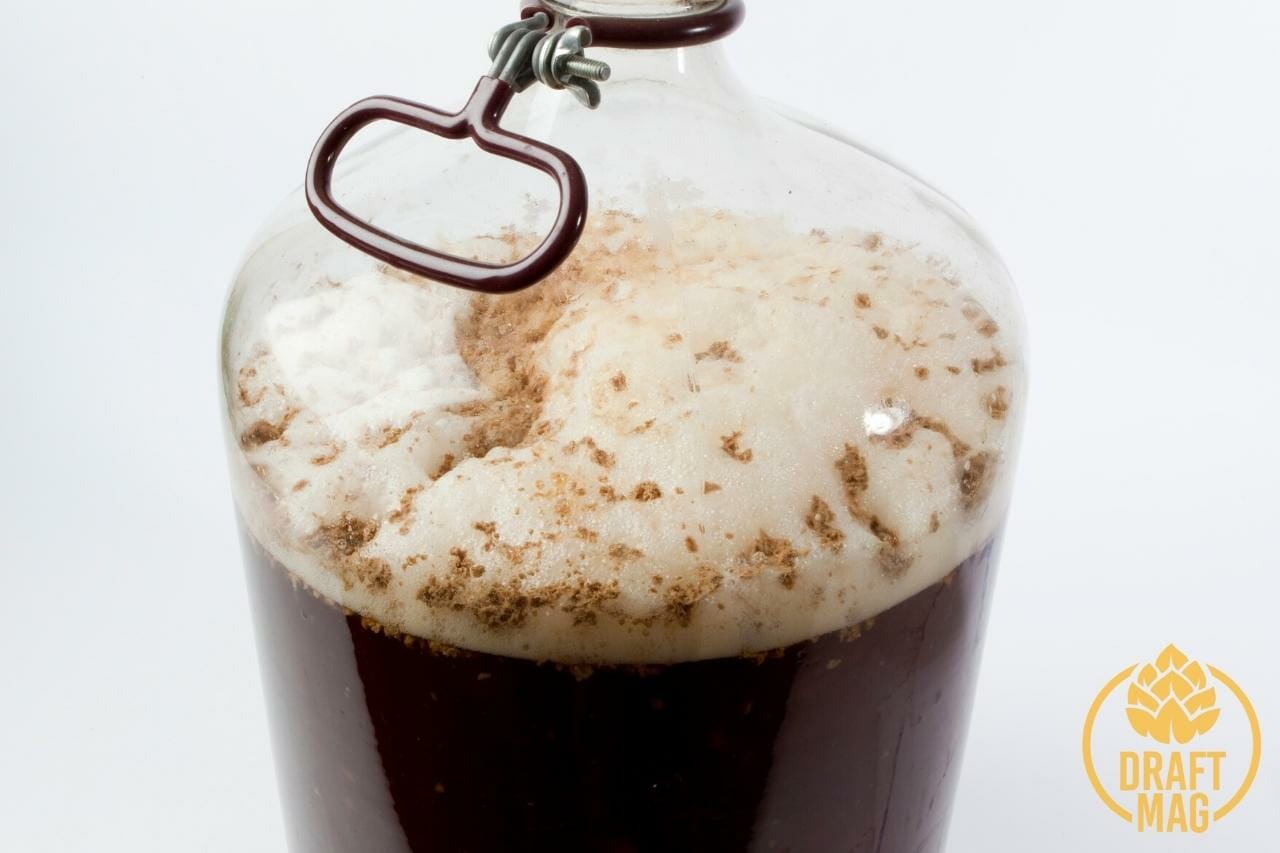
As the wort goes into the fermenter, it will be aerated, and you will notice the mass of foam on top of it. After collecting the volume you want, you can pull the hose out and pitch your yeast through the hole at the top of the fermenter.
Then place the lid on top and screw the cover tightly with your hand. Move the rig from your filling spot to the fermenter, and be careful while you do this. You might also need to add a temperature sensor to the side of the fermenter so that you can track the temperature while fermenting.
-
Connect the Spunding Valve
Once the wort is well placed in the fermentation chamber, you can now attach the spunding spigot to one of the ball-lock posts on the device. You can follow the steps in the FermZilla guide to put the provided spunding spigot together and connect it to the fermenter.
Dial the release valve on the spunding spigot to the pressure you want, but it cannot pass 35 PSI. The ideal pressure should be 8 to 12 PSI for ales and 10 to 15 PSI for lagers. Now you can leave the yeast to do its work.
-
Check the Hydrometer Readings
While using the fermenter to ferment your beer, it’s important to always check your hydrometer readings. This can help you track the beer’s gravity and check the ABV level. Every few days, you should check the hydrometer readings by taking a sample from the fermenter.
An easy and efficient way to get samples from the fermenter is by connecting a picnic tap to the serving ball-lock post. This is located to the floater and tubing. Then you can draw the wort out. Since the vessel is under pressure, it easily pushes the beer out of the tap.
Keep in mind that the beer can come out as a foamy sample because of the pressure, so you should leave the foam to subside for a bit before using your hydrometer to get a reading of the beer. It might also cause a mess if too much beer is pushed out at a time.
-
Cold Crashing
Once you reach the final gravity that your beer recipe requires, the next thing to do is a cold crash with your device. With this fermenter, you can change the temperature when it’s time to do this. For instance, if you’re making ales, you can set the temperature to 38 degrees for a rapid temperature change.
Before doing this, you need to remove the spunding spigot from the chamber. This will prevent it from sucking the beer back. Also, keep on looking at the fermentation pressure level to ensure that the rapid cooling won’t reduce too low to collapse the vessel walls.
You can add some CO2 to the wort during cold crashing to prevent the pressure from being too much. Once the sediment has settled to the bottom, you can transfer the beers from the fermenter to the keg.
-
Transfer to Kegs
Now you can add a transfer line from the fermenter to the keg. Attach a ball-lock disconnect to output ball-lock disconnects, which you can put in the kegs that you want to transfer the beer. Once it’s set up, you can watch the beer flow into the keg.
While you’re doing this, you can add CO2 to the tank to make sure that the pressure in the fermenter stays higher than the keg and also to increase the flow rate. This makes it easier to fill up the kegs in a few minutes. With this, you have finished fermenting your beer with the device.
– Disassembly
The first thing you should do to disassemble your fermenter is to remove the collection basin. To do this, you need to depressurize the fermentation vessel, so open the pressure relief valve and let the CO2 escape.
After that, you will notice black caps at the side of the container. Loosen them up and you can release the leftover gas in the vessel. This way, you don’t end up with a burst of messy and yeasty waste spraying everywhere.
To catch any possible spillage, you need to close the butterfly valve and put a bowl under the fermenter. This will catch any wort spilling out of the vessel. It also comes with a container removal tool, so you can use that to remove the container and other parts of the fermenter.
– Cleaning
Follow the steps below to properly clean the fermenter:
- Disassemble the collection basin and the lid.
- Rinse out the collection basin, vessel, butterfly valve and lid with cold water. You should also clean out the threads and external face of the butterfly valve. This can be done with a garden hose, especially since the water pressure can carry out hops and yeast collection.
- Get a non-abrasive cloth to remove any residue stuck in the collection vessel, lid and butterfly valve.
- Once it’s free from residue, you can close the butterfly valve, then leave the collection vessel unattached.
- Fill the collection vessel with cold water and a brewery wash. KegLand recommends that you use StellarClean to clean it. Close the lid tightly and shake it well to dislodge the residue.
- Leave it for thirty minutes before using a soft cloth to clean it. Don’t use a harsh scrubber or it can damage the fermenter and leave holes for bacteria to get into the wort while brewing. If there is a lot of residue in the fermenter, you should leave it overnight rather than for thirty minutes.
- Drain out the water and brewery wash from the container by opening up the butterfly valve.
- Rinse it with cold water and repeat the steps above. This time, do it for the collection vessel and FermZilla device.
- You can leave the water and brewery wash in the fermentation vessel until the next time you need to ferment your beer.
[easyazon_link identifier=”B0851WJ4S9″ locale=”US” tag=”draftmag0a-20″] [/easyazon_link]
What Makes FermZilla Unique: Product Features
[easyazon_image align=”center” height=”332″ identifier=”B0851WJ4S9″ locale=”US” src=”https://m.media-amazon.com/images/I/31mw0ChgLKL._SL500_.jpg” tag=”draftmag0a-20″ width=”500″]
There are four main features of this model that make it unique among other fermentation vessels.
-
Large Opening
FermZilla is known for having a large opening, but this isn’t just to give you an attractive design. It is fitted with a 4.75-inch top port and is an important feature of the unit. This large opening is designed to make pouring the wort into the fermenter easy, and cleaning is also convenient.
With the large port at the top of the fermenter, most people can even put their entire arm into the tank and scrub the walls. It’s best to use a soft sponge rather than something tough when doing this. You can also reach all the inner surfaces for proper cleaning.
-
Easy Wort Transfer
The fermenter makes pressure and closed transfers very easy. The devices have integrated gas and liquid ball lock posts, and because of this, you can transfer the wort from the fermenter to your kegs without worrying about oxygen coming in contact with it. This is because of the structure of the fermenter and its different components that limit oxygen exposure.
It will become even easier to transfer wort when you connect your CO2 tank to the fermenter. When the gas is out of the beer keg, you can attach a fully-closed valve to the fermenter. The gas will escape when you slowly open the valve, and the beer will flow into the keg.
-
Plastic Build
Although it might be discouraging to purchase a fermenter that is made of plastic, it will surprise you that the fermenter is highly durable. Because of its sturdy construction, the fermenter can easily handle the weight of your wort and last for a long time.
Not only this, but since the fermenter is highly durable, it can easily handle high pressure levels, even as high as 35 PSI. Since it is made of plastic, the fermenter has a clear appearance, which allows you to see the entire brewing process while it’s happening.
It is also easier to clean the plastic fermenter very well since you can easily see the residue from hops and yeast. You can easily monitor the beer volume while you transfer the beer from the fermenter to your keg.
-
Well-Designed Shape and Size
The final feature of FermZilla is its shape and size. The container has a unique shape and size, and although it looks great, it isn’t designed for aesthetic purposes. When you use the conical fermenter, you will realize why they are useful.
The large container is designed to prevent the protein, hops and yeast residue from going into the keg while you’re transferring the beer. Also, the conical shape comes with a floating dip tube, which makes your beer clearer.
Keep in mind that the container produces less beer than its size. For instance, the 7.1-gallon model will give you a little under 5 gallons of beer in the keg. The same goes for the 13.2-gallon container. You can upgrade or downgrade your choice by changing the plastic tank.
– Who Needs FermZilla?
FermZilla is ideal for homebrewers; the plastic fermenter cannot be used in industrial situations, so companies and craft brewers cannot use it. But any homebrewer who wants to enjoy all the advantages of a pressure fermenter without spending too much money will benefit from a FermZilla conical fermenter.
If you want to make fermentation easier for yourself or you’re interested in trying out pressure fermentation, this model is also a great way to start. Normal kegs can’t handle the pressure brought upon by fermenting under pressure, but FermZilla can.
It also makes a great gift to your fellow homebrewers or anyone you know that wants to get into brewing.
– Is FermZilla Worth the Price?
Yes, if anything, this fermenter model is worth more than its price. The cost-effectiveness of the fermenter is one of the top benefits that homebrewers can enjoy. It sells for under $100 but still manages to handle pressure fermentation without requiring any modifications.
Although a stainless steel fermenter does the same, FermZilla goes for a fraction of the price and is still highly durable, even if it is made of plastic. Cleaning is also easier with this fermenter, and it’s fascinating to watch your beer brewing.
Frequently Asked Questions
Read this section for answers to questions about FermZilla.
– Dry Hopping in FermZilla?
It is straightforward to dry hop with your fermenter, and you can do this in two ways: from the top of the fermenter or through the collection basin.
First, you can open the top of the fermenter and add the hops to it, just like with standard fermenting. When doing this, make sure that the beer is not yet carbonated, or else the beer can cause a foamy volcano. Also, make sure that the tank is not under pressure.
On the other hand, you can add your hops through the collection basin from the bottom of the fermenter. Close the butterfly valve and remove the collection basin, then dump the contents of the container and clean it thoroughly. Add the hops to the container, reattach it and lock the butterfly valve. The hops will mix with the beer from the bottom, and there won’t be any oxygen.
– What Is FermZilla Made Of?
FermZilla is made from PET plastic and reinforced steel. Because of the plastic construction, it protects your beer closely from oxygen and it remains lightweight, so you can take it from place to place.
Despite the plastic construction, the fermenter is not fragile and is very sturdy. It can handle the pressure made when brewing, and it won’t break into pieces if it falls down.
– How Do You Control Temperature FermZilla?
Use a cooling or heating coil to control or maintain the temperature of your device. By connecting a glycol chiller to the cooling or heating coil, you can easily attain temperature control.
To do this, drill two holes as large as 22 mm into the lid of the fermenter and use the buckhead fittings provided in the package to attach the coil to the lid.
– Can I Bottle Condition Using the FermZilla?
Yes, you can; in fact, if you want to use the FermZilla for bottling and conditioning, it is an ideal option. The fermenter’s collection container at the bottom will remove sediment from the beer while it is being transferred to the bottle. Also, it will make sure your beer is clear and clean.
In the same way you can connect the hose to the kegs, you can connect it to the bottles too. To do this, dump the yeast and sediment from the fermenter and rack the beer to your bottling bucket with the siphon, then follow the usual bottling process.
– Can You Make Wine in a FermZilla?
Yes, you can. It’s very easy to make wine in a fermenter at home. With a conical fermenter, it is straightforward to ferment up to five gallons of wine. You can also ferment mead or cider aside from beer and wine.
– Can You Serve Beer From FermZilla?
Yes, you can; you can serve beer directly from your fermenter by connecting a beer line from the FermZilla to your keg or bottle. It will be easy to also force carbonate in your fermenter and reduce oxygen exposure.
[easyazon_link identifier=”B0851WJ4S9″ locale=”US” tag=”draftmag0a-20″] [/easyazon_link]
Conclusion
 If you’re looking for an impressive fermenter that can meet your all-around needs while brewing, FermZilla is an ideal choice.
From its durable plastic construction and unique shape that makes cleaning and fermenting easy to the affordability and easy assemblage, you can easily get started with this conical fermenter.
Although there are a few downsides like the large size when you put the components together or the fact that you always have to empty it out before you brew again, these features are not uncommon in a fermenter. It still beats the industry standard and is highly recommended for all homebrewers.


