How To Force Carbonate Beer: Learn The Homebrewing Secret
You can learn how to force carbonate beer using two effective methods. You can opt for the setting and waiting method or do the shaking method. These techniques have their own advantages. However, you need to know the proper way to carry them out.
Read on to learn the different methods of quick force carbonation.
How To Force Carbonate Beer: Step-by-Step Guide
There are two major methods you can employ to force carbonating beer quickly. You could select any technique depending on the one suitable for you. To use any of these methods, you must have a standard brewing keg fitted with a gas and liquid post. Learn more about non carbonated beer in our detailed article.
We will give a detailed explanation of the two methods below:
– Method 1: Setting and Waiting
This method is very efficient when you want quick force carbonation. It involves you putting the CO2 into the keg containing the beer then waiting for a couple of days to absorb the gas.
These are the steps involved:
-
Step 1: Prepare the Gas Lines
The keg comes along with a liquid and a gas post. It will be boldly labeled on the keg. Then a long hollow tube is joined with the liquid post. It runs from down to the end of the keg. When the gas runs from the top of the keg, it compresses the beer, allowing the liquid to go up the hollow tube to dispense in your glass.
In carbonating, you have to ensure you properly pass the CO2 over the liquid down the hollow tube. This will allow the gas to rise over the beer in the keg. While passing the gas from the end, make sure the CO2 blends with the beer thoroughly and fast.
To make sure the gas line is ready, you have to remove the gas plug from the individual gas lines. Ensure to keep the socket for future use.
The next thing to do is remove the plug from the liquid line and attach it to the gas line on the keg. The main aim of this stage is to pass the CO2 over the liquid post.
-
Step 2: Observe for Any Leakage
Before trying to pass the CO2 from the cylinder into the keg which contains the beer, you have to be sure there are no form leakages. Fix the regulator to the cylinder and tauten it. Assign the gas lines to the regulator, then tighten them, ensuring that the valve is off.
If you want to know if there is any leakage, spray a sanitizer at the joints. Then you set the regulator to 5 psi. If you see any form of air froths around the joints, that is a sure sign of leakage. Ensure the leaking joint is tightened, then test it again until there are no bubbles. When it does not form bubbles anymore, there is no leakage.
-
Step 3: Release the Pressure Stuck in the Keg
You have to release any pressure that might be stuck inside the keg to ensure there is a proper gas flow. Removing the pressure is quite easy. You turn on the pressure-releasing regulator at the top of the keg. You should hear a bubbling and hissing sound that indicates that the pressure has escaped.
However, no bubbling and hissing sound means there is no pressure within the keg, and gas moves properly from the gas container into the keg.
-
Step 4: Setting the Regulator to the Suitable Pressure
The quantity of CO2 you need to force carbonate homebrew and the pressure to apply depends on the recommended temperature and the beer style. The beer will carbonate faster when the temperature is low.
This results in a lower pressure used to carbonate the beer. It is advised that you follow a standard force carbonation table to know the required pressure levels and CO2 volumes to use.
-
Step 5: Stand Away and Wait
Now that the setup is complete and you are sure that CO2 is flowing properly into the keg at the recommended pressure, the next thing to do is wait. Set the container aside for about three to four days. Then on the last day, taste the beer to know if it has reached the amount of carbonation you want.
Say the beer is not as crispy as you want; it is not a problem. You could still leave it for more days. It might be an additional four days or more to reach that desired level of carbonation.
Before you taste the beer, do not forget to turn off the controller to bring the CO2 back to the required serving pressure. Also, you shout put the liquid and gas lines back to their original positions after the carbonation process.
– Method 2: Shake, Then Drink
The second method is slightly similar to the first. However, you do not have to wait for days in this method. This method requires shaking the keg to allow the carbon dioxide to diffuse in the beer fast.
The steps involved are discussed below:
-
Step 1: Connect Your Gas Cylinder to the Liquid Tube
Here, you would attach the gas cylinder to the liquid post on the keg. Then you check for any leakage and set the regulator to a pressure of about 30 psi.
-
Step 2: Shake the Keg
In this step, you have to be careful not to make mistakes. You have to put the keg on your laps, ensuring you are seated. Hold the keg firmly, then swing your legs to the sides to gently move the keg. Doing this, make sure that the CO2 mixes with the beer properly. This speeds up the process of carbonation.
As you move your legs sideways, pay attention to any sparkling sound as the CO2 dissolves in the beer. Shake the mixture for about five minutes, then pay attention to the sound. Repeat this for about twenty minutes to allow the CO2 to dissolve in the beer, giving you the desired carbonation.
-
Step 3: Taste Your Beer
After shaking for about twenty minutes, lower the regulator’s pressure to a standard pressure of 20 psi. Then allow the force carbonated beer to settle for about two hours before you taste to confirm the level of carbonation.
If you do not like the carbonation level after tasting, you can keep adding CO2 to the keg. Keep shaking calmly, then test the carbonation level at an interval of five minutes.
How To Force Carbonate Beer: Supplies and Tools
You do not need plenty of equipment to force carbonate a beer. The force carbonation system requires only a few pieces of equipment.

The materials include the following:
- Brewing sanitizer
- Gas and liquid line fittings
- A homebrew keg
- Dual-gauge pressure regulator
- Gas hose
- A full CO2 gas cylinder
- A kegerator
- A force carbonation chart
How Do You Prepare for Force Carbonation?
To prepare for force carbonation, you have to install a lock conversion kit to the kegerator lines first. This enables a connection between the gas lines and liquid lines with the keg lines. After installing the lock kit, you must prepare for the attachment of the gas lines to the kegerator.
In preparation of the keg, remove the gas socket from the line and keep it safe.
Now, you can put the liquid socket from the liquid line to the gas line. After doing all these, turn on the gas cylinder slowly to 5 psi. Check carefully to see if there are leakages. If there is any leakage, tighten it. You can check by spraying soap water on the connections; the formation of bubbles indicates leakage.
– Other Important Things To Consider for Force Carbonation
Before you can force carbonate a beer, you have to make sure that the beer is cold. It has to be at a temperature of 34 F. Do not start carbonation immediately after you put your beer in the keg. This act lowers the beer’s temperature and introduces CO2 prematurely.
It produces diacetyl which is a by-product of the fermentation of beer. The occurrence of diacetyl lowers the value of the force carbonate homebrew. Always sterilize your equipment before you start force carbonation using a quality sterilizer.
How Long Does It Take To Force Carbonate Beer?
It takes about 24 to 48 hours to force carbonate beer. However, the period it takes often varies with the brewing methods, recipes, type of beer, and fermentation style. The beer with a higher percentage of alcohol would take more time.
Some homebrewers take a minimum of two weeks to force carbonate homebrew completely. CO2 mix with the beer within two weeks to give that refreshing taste. Others take far less time. For someone that is not impatient, you could leave the beer for a longer period. The longer the beer stays, the more improved the quality and taste are.
Carbonation Chart
| 30 F | 35 F | 40 F | 45 F | 50 F | 55 F | 60 F | |
| 5 PSI | 2.23 | 2.02 | 1.83 | 1.66 | 1.50 | – | – |
| 10 PSI | 2.82 | 2.52 | 2.30 | 2.08 | 1.90 | 1.75 | 1.62 |
| 15 PSI | – | 3.02 | 2.75 | 2.51 | 2.30 | 2.12 | 1.95 |
| 20 PSI | – | – | 3.19 | 2.54 | 2.70 | 2.47 | 2.27 |
| 25 PSI | – | – | – | – | 3.10 | 2.83 | 2.60 |
| 30 PSI | – | – | – | – | – | 3.18 | 2.92 |
The force carbonation chart illustrates the concept of CO2 dissolution and presents a means for choosing the adequate level of gas pressure and temperature. First, you have to find the beer’s temperature on the chart. Say, for example, the beer’s temperature is at 35 F. For most beer, 2.2 to 2.6 volumes of CO2 is normal.
Using the chart, you will need 7.1 psi at 35 F for 2.1 volumes of CO2. Now, for a beer with this particular temperature, you need to apply 7.1 psi (You can round it up to the nearest whole number) of pressure until it is saturated and would not accept CO2. The colder the beer, the lower the pressure needed to force carbonate it.
What Is Force Carbonation?
Force carbonation is the direct infusion of CO2 into your beer right from the gas cylinder. That is, you introduce CO2 directly instead of feeding additional sugars to the leftover yeast to create the CO2 naturally. The act of force carbing beer is the fastest carbonating process with lesser room for error.
– Force Carbonated Beer
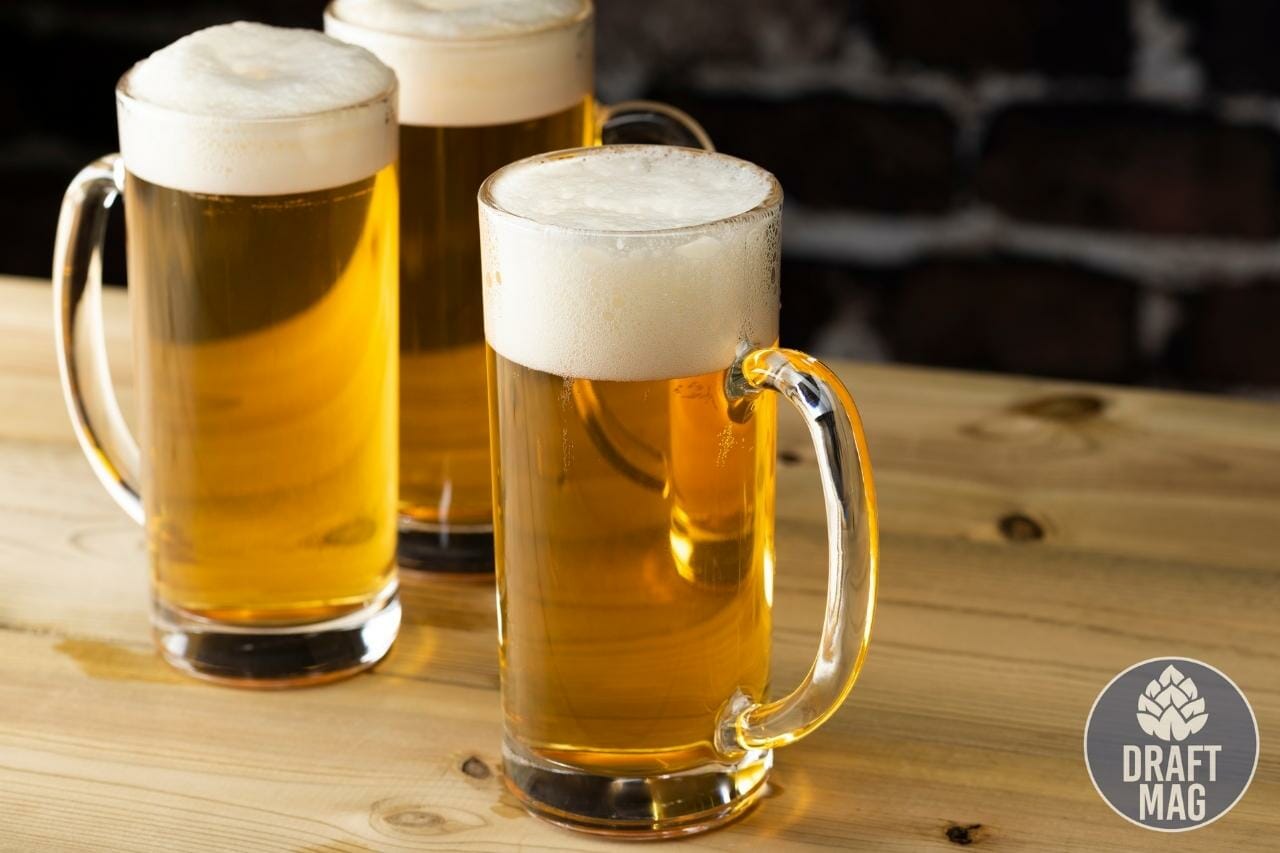
A force carbonated beer is distinct, unique, and refreshing to drink. Carbonation means the addition of CO2 to a liquid. To achieve this, there needs to be pressure. In beer, this pressure comes from a stuck tab or bottle cap. The CO2 rises and leaks in carbonation or bubbles upon releasing the pressure.
In forced carbonation, the beer is fully fermented. The CO2 is then pumped into the sealed container alongside the beer. A keg is mostly used in a forced carbonation system. You pump the CO2 into the keg that you have already refrigerated. After a few days, the CO2 would have been absorbed into the beer, and it would be carbonated.
FAQ
How do you carbonate a keg in 30 minutes?
To carbonate a keg in 30 mins, set your regulator to 40 PSI, rock the keg for 30 mins, then reduce the pressure to serving PSI.
How much CO2 pressure is needed to force carbonate?
CO2 pressure needed for force carbonation depends on temperature and desired carbonation level. Generally, 12-14 PSI at 38°F is suitable.
What PSI do you force carbonate beer at?
For force carbonating beer, set the regulator to 12-14 PSI at 38°F for 3-4 days or to 40 PSI at 38°F for 24-36 hours.

Conclusion
Learning how to force carbonate beer helps you enjoy refreshing, crispy homebrew without having to wait too long. This article covers all the essentials you need to know to force carbonate beer.
Let’s have a quick recap:
- Force carbonation involves the direct infusion of CO2 into beer from a gas cylinder instead of feeding additional sugars to the yeast for natural CO2.
- The essential materials for effective force carbonation include gas and liquid line fittings, homebrew keg, gas hose, dual gauge pressure regulator, CO2-filled gas cylinder, and kegerator.
- There are two major methods to force carbonate your beer. The first is the setting and waiting method, while the second is the shaking method.
- The first method involves the preparation of gas lines, then releasing pressure in the gas. This is followed by setting the regulator to the appropriate pressure. Then you wait for a few days for carbonation.
- In the second method, you first connect the gas cylinder to the liquid tube while setting the regulator to a pressure of about 30 psi. Then, shake the keg to dissolve and properly mix the CO2 with the beer. After about twenty minutes, you can then taste your beer to check the carbonation level.
Follow these guidelines to force carbonate your homebrew the right way.
Disclaimer: none of the authors, contributors, administrators, vandals, or anyone else connected with draftmag.com, in any way whatsoever, can be responsible for your use of the information contained in or linked from this web page. Use at your own risk!
