How To Keg Homebrew: Handle Homebrew Kegging Like a Pro
 Learning how to keg homebrew is one of the essential tools you should have in your arsenal as a homebrewer. While bottle was the mainstream means of getting beer out of the fermenter, kegging presents an easier and more affordable means.
Read on to learn the best way to keg your homebrew.
How to Keg Homebrew: A Step-by-Step Guide
Once you have all the necessary equipment to keg your own beer, you are on your way to mastering the kegging technique. However, you need to wait for your beer to ferment properly and be ready for conditioning.
Here are the following steps to keg your homebrew like a pro:
– Step 1: Disassemble Your Keg
You need to take caution at this stage. Always remember to release the pressure in your homebrew keg before disassembling it. Having flying parts, especially under pressure, may be harmful, sometimes even fatal.
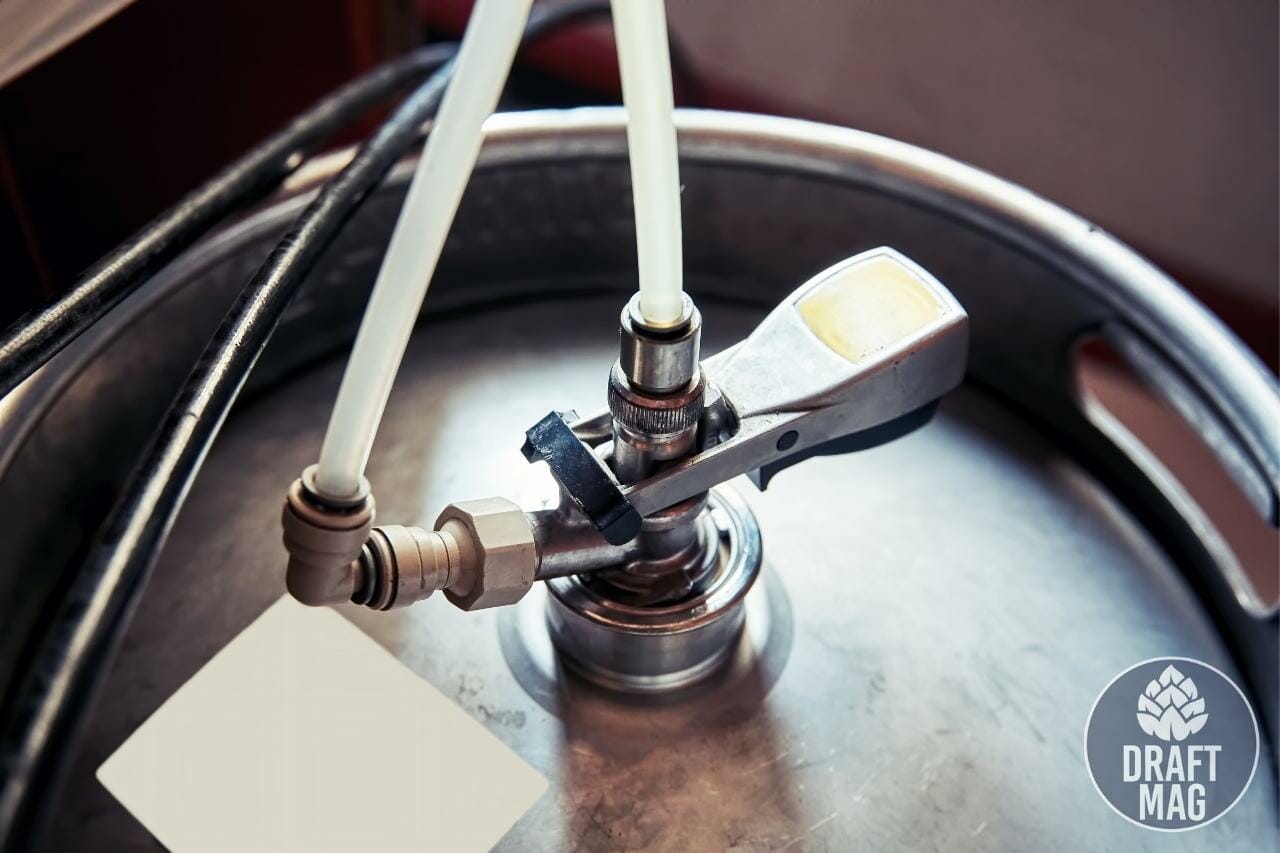 There are release valves on most kegs to make this process more seamless.
An alternative option is to remove the lid. Take apart all components, fittings, and gaskets. You must also remember where each of these components goes. This is to ensure easy reassembly later on.
– Step 2: Clean and Sanitize Your Keg
If you are using a new keg, it may look reasonably clean. However, we recommend that you clean it before first use. You can never tell what has entered the keg upon purchase. You want to keep the flavor and quality of your beer in check, so cleaning is vital.
You can also sanitize your keg before filling it with beer for carbonation or drinking. After drinking the beer, you clean the keg again. For proper cleaning or sanitizing, the following tips will help:
- Vent the pressure present in the keg and remove the lid. Also, remove the gas and liquid posts as well as the gas dip tube from the keg (disassembly process). Then, soak these smaller parts in a cleaning solution.
- The removed long liquid-side tube should go inside the keg shell. Then, fill this shell with a sanitizing or cleaning solution or any cleanser of your choice.
- Soak time for cleaning should range from 30 minutes to one hour, depending on how unclean you feel your keg is. On the other hand, sanitizing soak time should be about ten minutes. The dirtier your keg, the longer the soaking.
- You can use a soft scrubbing pad or brush to clean the keg inside out. Ensure never to use heavy abrasives or scouring pads that could scuff and scratch the metal. A narrow brush will help you clean the long dip tube properly.
- After soaking, rinse, and air dry every part of the keg.
– Step 3: Assemble the Keg and Carry Out a Leak Test for the Gas Side
Re-assemble the keg’s fittings and components. Carefully tighten the regulator to the gas cylinder. Attach the quick disconnect and the gas line to the body of the regulator. Ensure that you close all the valves while doing this.
You can sponge some soapy water on the connections — the cylinder and regulator, the regulator and the gas line, and the disconnect and the gas line. Then open the valves to check for gas leaks. This will appear as bubbles, meaning that you have to tighten the connection.
– Step 4: Fill Your Keg With Beer, Seal, and Pressurize
Keg your homebrew by transferring your beer from the carboy or fermentor.
Follow these tips to do it effectively:
- Siphoned the beer from the fermentor as you would typically do with bottling, avoiding unnecessary sloshing to prevent oxidizing the beer.
- Seal the keg using its lid. As you fasten the lid, keep the gasket properly sealed and seated.
- Connect the CO2 supply, attaching the quick disconnect to the keg’s gas post. As you pressurize the keg, you will hear the sound of hissing.
- Pressurize the keg with the CO2 keg to force carbonate it. The set screw on the regulator will help you adjust the carbonating pressure to help you force carbonate the beer properly.
- First, set the regulator to 10 psi and pull up the nail until it properly seats and seals. Tighten the bail and pull up on the release for about ten seconds while the gas flows at 10 psi. You can repeat this process a few times to displace the oxygen that may be present in the keg.
- The gauge available opposite the gas line will show you the pressure supplied to the keg. The force you use will vary depending on the beer style. Some homebrewers use 12 psi, while others use up to 20 psi. Refrigerating temperature also plays a role in the choice of pressure. The warmer the refrigerating temperature, the higher the pressure.
– Step 5: Refrigerate Your Beer
The more challenging part is complete, and your beer should carbonate in about one week. You can also speed up the process by temporarily increasing the CO2 pressure or agitating the beer. Shaking the keg around enables more CO2 to come in contact with the beer and dissolve into it.
Turning up the CO2 pressure to about 20 to 25 psi and leaving it there for about 24 hours will also do the trick. After 24 hours, you can bring the pressure back down to around 10 to 12 psi and leave it there. Your beer should be fully carbonated within a few days.
– Step 6: Enjoy Your Beer!
Once you test the carbonation levels and are satisfied, you can sit back and enjoy a refreshing glass of your beer. If your beer has a very high carbonation level, you can dial down the CO2 pressure a bit. Increasing the pressure will also come in handy if it feels too flat.
Essential Equipment for Homebrew Kegging
The important equipment for effective homebrew kegging includes the keg, CO2 tank, beer tap, regulator, and refrigerator. An all-in-one home brew keg set up is the easiest way to go for regular homebrewing. In other cases, you may need multiple kegs and taps for an elaborate kegging setup.
However, there is a minor disadvantage to buying an all-in-one setup. The CO2 tanks in such a setup will be empty, and you will need to fill them. This may require you to visit your local welding company. Some shops may even only accept exchanges rather than filling.
Regardless of which one you choose, you must use a standard set of components.
Standard home brewing keg systems have the following components:
– The Keg
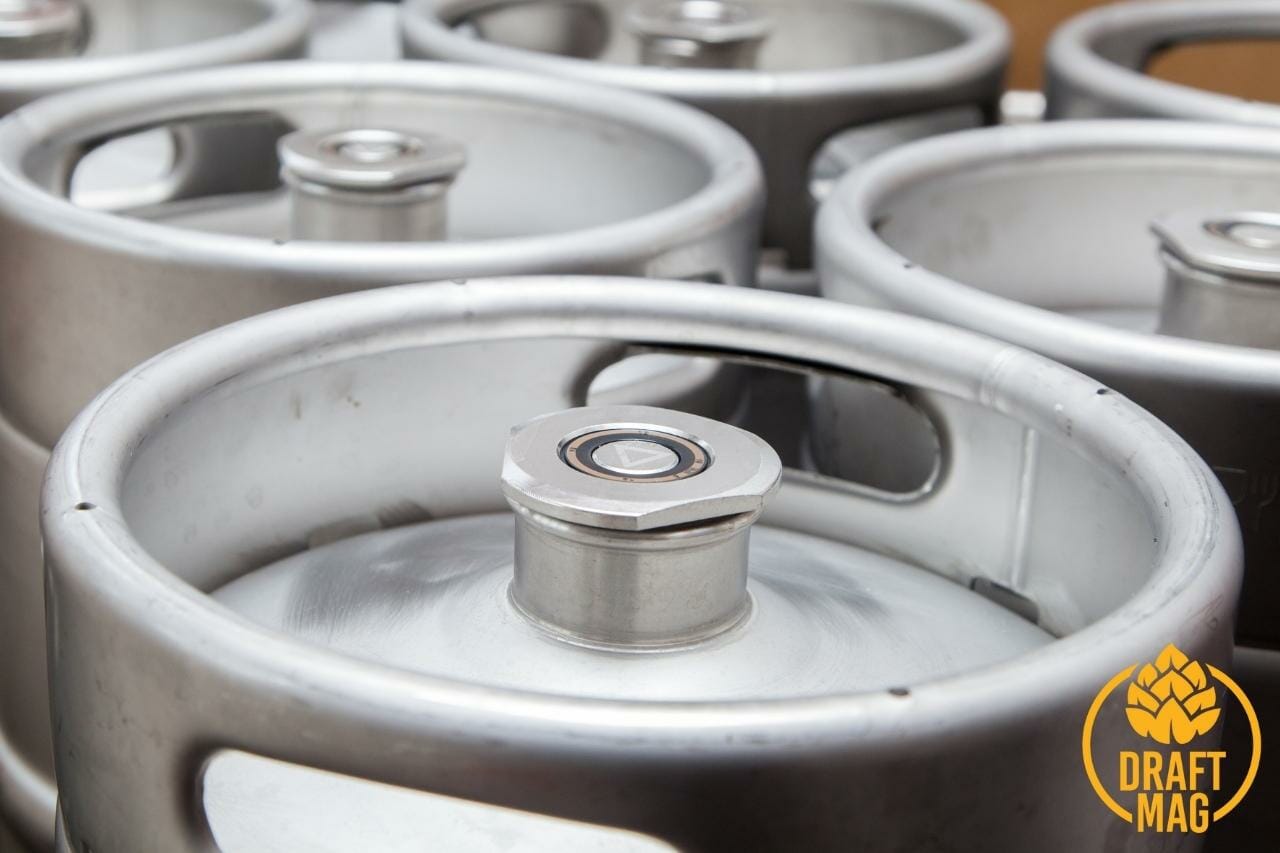
The major keg options for homebrewing are the Cornelius kegs, also referred to as the Corny kegs. They are stainless steel kegs of different sizes used in the beverages industry. The two primary varieties of these kegs are the ball lock and pin lock kegs. Their difference lies majorly in the type of connections used in both beers.
While ball lock is more popular, some homebrewers also choose the pin lock type. So, you should stick with one variety, so you won’t have to go through the hassle of switching between connection types. The connections on these kegs are called quick disconnects (QD).
One of the kegs’ quick disconnects (QDs) is for the hose feeding CO2 into the keg. The other QD is for the line that will dispense the beer. This is essential information because of reassembly purposes.
It is also vital to know the types of QDs your keg uses. It could be a pin lock or ball lock system. This will help you select the right accessories for your keg.
– CO2 Tank
CO2 tanks for kegging beer often range from 2.5 pounds to 20 pounds. One 5-pound tank will be a convenient option if you look to make only one keg at a time. Such a tank should typically last for half a dozen batches of beer or thereabout. However, a larger tank would be ideal if you’re carbonating multiple kegs.
You need to recertify the tanks you use for your homebrew by hydrostatic testing in five years intervals. This won’t be a problem when you are exchanging tanks. Full talks read about 900 psi (pounds per square inch). This value will depend on the ambient temperature. Whenever you notice the pressure drop below 600 psi, you need to refill or exchange your tank.
– Regulator
A CO2 tank is usually under a high amount of pressure. Thus, a regulator will come in handy. The regulator is a valve that helps control and lowers the CO2 pressure as you release it from the tank.
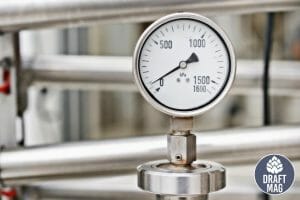
There are two dials on a regulator. The first one measures the level of gas in the tank, while the other measures how much pressure comes out.
You can adjust the amount of gas released from the CO2 tank by tightening the screw on your regulator valve. This will help you get the desired psi. You only need to adjust the screw on the valve going directly to the keg. The screw on the main valve needs no adjustments.
Note that high-pressure gas is harmful, so you need to ensure you tighten the regulator securely before adjusting the pressure.
– Beer Tap
The beer tap or faucet is another essential tool that will help you dispense your beer whenever it is ready to serve. There are different tap options, and the least expensive one is the picnic tap. However, building a jockey box or a kegerator will give you a more elaborate option to attach to nice tap handles.
– Refrigerator
Another equipment you will need to keg your homebrew is the refrigerator. This will help you keep the beer at best possible serving temperatures.
You can also use a kegerator with temperature control, enabling temperatures of about 33 F to 50 F. You can also use separate temperature controllers if your kegerator can’t get to that temperature range.
Advantages of Kegging
The benefits of kegging are enormous.
Here are a few of them:
– Convenience
Compared to bottling, you won’t have to worry about storing empty bottles, sanitizing, cleaning, drying, filling, and labeling over and over again. You won’t also need to wait for weeks for proper carbonation inside the bottles. Moreover, kegging homebrew allows you to transfer the finished beer faster than filling several bottles.
– Control Over Carbonation Levels
It can be very frustrating to have an under or over-carbonated beer. Once you bottle the beer, there is hardly any way to correct such a problem. Kegging helps you adjust the carbonation levels up and down without a struggle. You can also do this whenever you like, within minutes or only a few hours.
Whenever you are disturbed about too low or too high carbonation, all you need is to correct the issue.
– Oxygen-Free Transfer
This is another excellent upside of kegging your homebrew. You only need to purge the carboy or fermenter with CO2. Then, put some pressure on the keg, and you don’t have to worry about oxidation.
Moreover, using pressure-capable fermenters keeps the freshness of the beer. They also ensure that you can keep the beer for a longer time with all the delicious aroma you want.
FAQ
How long can homebrewed beer last in a corny keg?
Homebrewed beer can last for several weeks to several months in a corny keg if stored properly with consistent temperature, pressure, and sanitation. The exact duration depends on various factors, including the beer’s style, alcohol content, and storage conditions.
What temperature should a keg homebrew be?
Homebrew kegs should be kept at a temperature of 38-45°F to maintain optimal carbonation and freshness.
What size are homebrew kegs?
Homebrew kegs come in various sizes, ranging from 1.5 gallons to 5 gallons, with 2.5 and 5 gallon kegs being the most common sizes.
Conclusion
 Now, you are ready to keg your own beer like a homebrewing master. The tips discussed in this article will guide you through effective homebrew kegging.
Let’s sum it all up:
- Kegging homebrew gives a more convenient and affordable means of enjoying your beer.
- You need some essential equipment to help keg your homebrew properly. They include the keg, CO2 tank, regulator, beer tap, and refrigerator.
- The first step to keg homebrew is disassembling the keg. You can then clean and sanitize every component of the keg.
- The next step is to reassemble the keg and check out for leaks. Then, you can fill the clean keg with beer before sealing and pressurizing to force carbonate.
- Refrigerate your beer and sit back to enjoy.
So, invite your friends over to enjoy some delicious homebrew straight from the tap!

